10 Steps to Remove Laminate Flooring
- Local Editor:Local Editor: The HOMEiA Team
- Category: Home Maintenance , Home Improvement

Laminate is a popular flooring choice today. It comes in many colors and textures, it is durable, and it is easy to install. There may come a time, though, when you want to replace the existing laminate floor with something new.
To remove laminate flooring, you’ll remove the baseboards and transition strips, pry up the floorboards, and clean up the layers underneath.
We’ll show you the 10 steps to follow in order to remove your laminate flooring properly.
Why remove your laminate flooring?
Homeowners often choose laminate for its long-lasting beauty, but it does not last forever. You might want to replace your flooring if it is:
- Damaged. Scratches and gouges can detract from the beauty of your floors. If wear and tear (or perhaps children and pets) have caught up to your floors, it might be time to replace them.
- Old. Laminate has a typical lifespan of 15 to 25 years. When your laminate reaches the end of its lifecycle, you may notice cracking, peeling, peaking (an uneven surface), or gapping.
- Out of style. Trends come and go. If your flooring makes your home look dated, it may be time to say goodbye.
Once you’ve decided the flooring has to go, you’ll have to decide who will remove it. While you can always hire a professional, many homeowners find that the DIY approach is both feasible and cost-saving.

Related article
17 Key Steps to Install Laminate Flooring
It’s durable and beautiful and can work with any décor, but one of the best things about laminate flooring is that many people can install it on their own. If you have a weekend, a little finesse, and a good attitude, you too can install your own laminate floor…
What you’ll need
To make your project go smoothly, collect all the tools you’ll need before you get started. For a typical laminate removal project, you’ll need the following items:
- a) Boots, heavy leather gloves, and eye protection. Floor planks can have sharp edges capable of cutting your skin, and there is always a risk of chips flying off. Unexpected screws, nails, and splinters can make heavy footwear a good idea.
- b) Utility knife. A basic utility knife will cut through paint along the trim.
- c) Drywall knife. This flat-edged tool (6 inches is a good size) will help you remove the trim.
- d) Flat bar. This will help you remove the first planks. Choose one with a flat end and a “J” end.
- e) Hammer. You may need to pull nails or pound in protruding ones.
- f) Side cutters. For nails you can’t remove, side cutters can remove dangerous points.
- g) Felt marker. Use this to mark the trim pieces so you can put them back later.
- h) Screwdriver. Use whatever matches the screws you encounter.
- i) Chisel. This tool will help you pop planks out of place.
- j) Floor scraper. If your flooring is glued, this will help you remove the glue.
- k) Heat gun. If your floor has residual glue that you can’t scrape, a heat gun can help loosen it.
- l) Vacuum. Cleanup is an important part of any project.
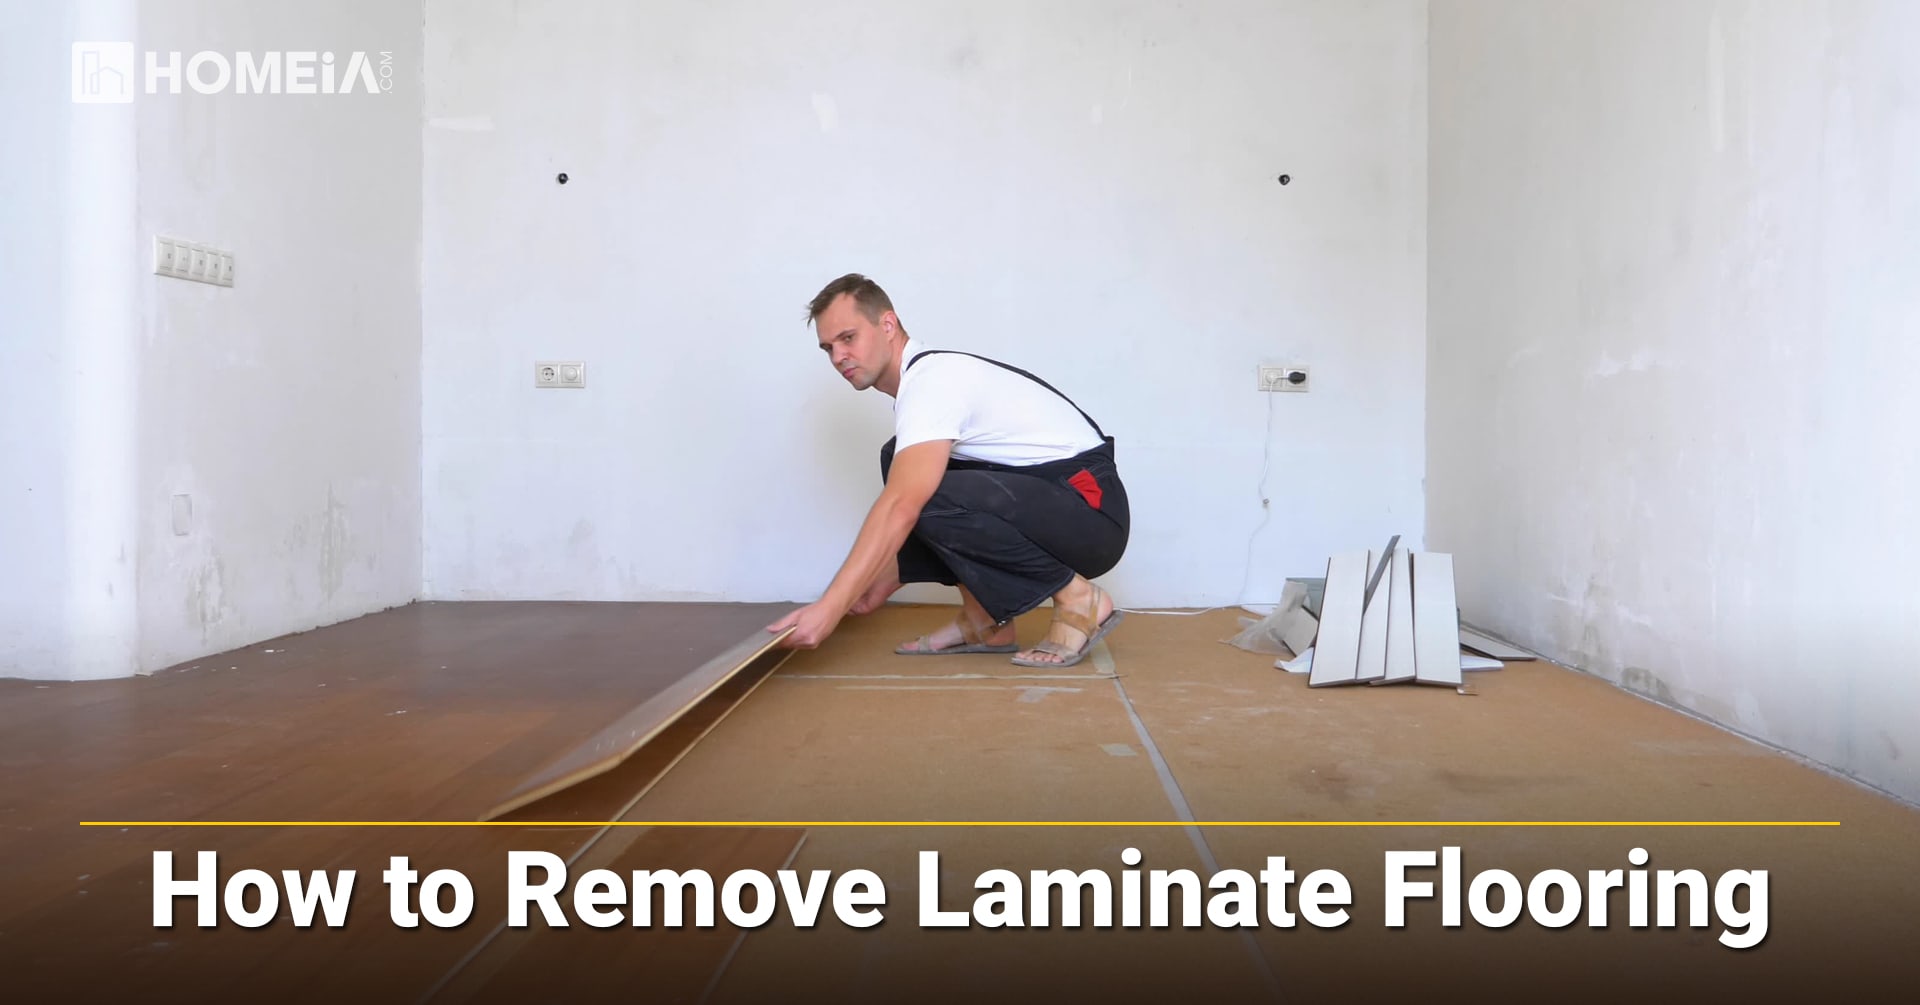
Here are the 10 steps for removing laminate flooring.
Step 1: Clear the room.

Get all furniture out of the room and make sure you have access to the entire floor. Remove anything fragile from the walls.
Step 2: Assess the existing flooring.

Laminate comes in two main types: engineered wood and plastic laminate. Engineered wood is typically constructed with a hardwood core and a veneer backing. Plastic laminate generally has a hardened fiberboard core with sealed edges and a melamine backing.
Laminate floorboards have tongue-and-groove edges to make them easy to snap together. That means they can often be installed without adhesives (floating), making them relatively easy to remove. Other floors are glued—especially older ones—and may take more effort to uninstall.

Related article
10 Economical Flooring Options to Update your House and Add Value
Flooring comes in many styles and options, so you can easily find a variety of ways to keep the costs down while enhancing the value of your home in the process. Here’re 10 options for budget-friendly flooring that will help you keep the full cost of flooring replacement under control…
Step 3: Remove the baseboards and store.

First, use your utility knife to separate the baseboards from the wall, cutting through any paint that may cause the trim boards to adhere. This will keep you from damaging the drywall.
Next, slide your drywall knife behind the baseboard—this will protect the wall from your flat bar. Next, slide your flat bar behind the baseboard and on top of the drywall knife. Gently pry the baseboard away from the wall.
Use the hammer to pull the nails stuck in the trim or in the wall, or clip them with the side clippers and hammer in any remaining nail shanks.
If you plan to reuse the trim, mark the back of each trim board with the felt marker so you’ll know where to reinstall it once the new floor is in.
Step 4: Remove transition strips.

Look for transition strips at doorways and anywhere else the flooring changes. Carefully pull these up with the “J” side of the flat bar and use a screwdriver to detach the retaining channels.
Recommended for you


Step 5: Pry up panels in first row.

The first row is the most difficult. Place the “J” end of the flat bar between the wall and the first plank and pull it up. If the plank is glued, you will need to snap the glue by pulling the panel back toward you. If it’s a floating floor, though, the plank should detach and come out easily. Remove the entire first row in this manner.
Step 6: Pry up panels in remaining rows.

For the rest of the rows, a chisel should be sufficient to lift the panels. Remove planks one at a time until all flooring has been removed.
Step 7: Remove foam padding.

Some laminate flooring is installed with foam padding underneath. If you find foam, pull it up and discard it.

Related article
How to Install Insulation in Your Home
You’re curled up inside your charming historic home on a winter night when suddenly the air turns cold. It’s a ghost! Actually, it’s just a draft. Heat from inside is leaking to the outside, and the air around you is dropping in temperature. Old houses, and plenty of new ones, tend to be leaky. But there’s something you can do about it: add insulation.
Step 8: If glued, remove residue.

Glued floors may require a heat gun and floor scraper to remove anything remaining on the subfloor.
Step 9: Vacuum.

Clean the exposed subfloor, vacuuming up any chips and dust.
Recommended for you


Step 10: Dispose of the used flooring.

There are several ways to dispose of the remaining flooring:
- Sell or donate it. If it’s in great shape, try to find a buyer on Craigslist or Facebook Marketplace, or call your local branch of a charitable organization like Habitat for Humanity to see if they can take it.
- Recycle it. Check with the manufacturer or flooring detailers to see if they can accept (or even pick up) your extra materials.
- Trash it. Make a trip to the landfill.
Once the old floor is out, you’ll be ready to install new laminate flooring or other flooring of your choice.

Related article
10 Ways to Add Greenery to your Living Room
Big or small, on their own or in groups, plants are a great way to bring nature into your home. Here we’ve gathered ten fresh, creative ideas for bringing greenery into your living room…
Share