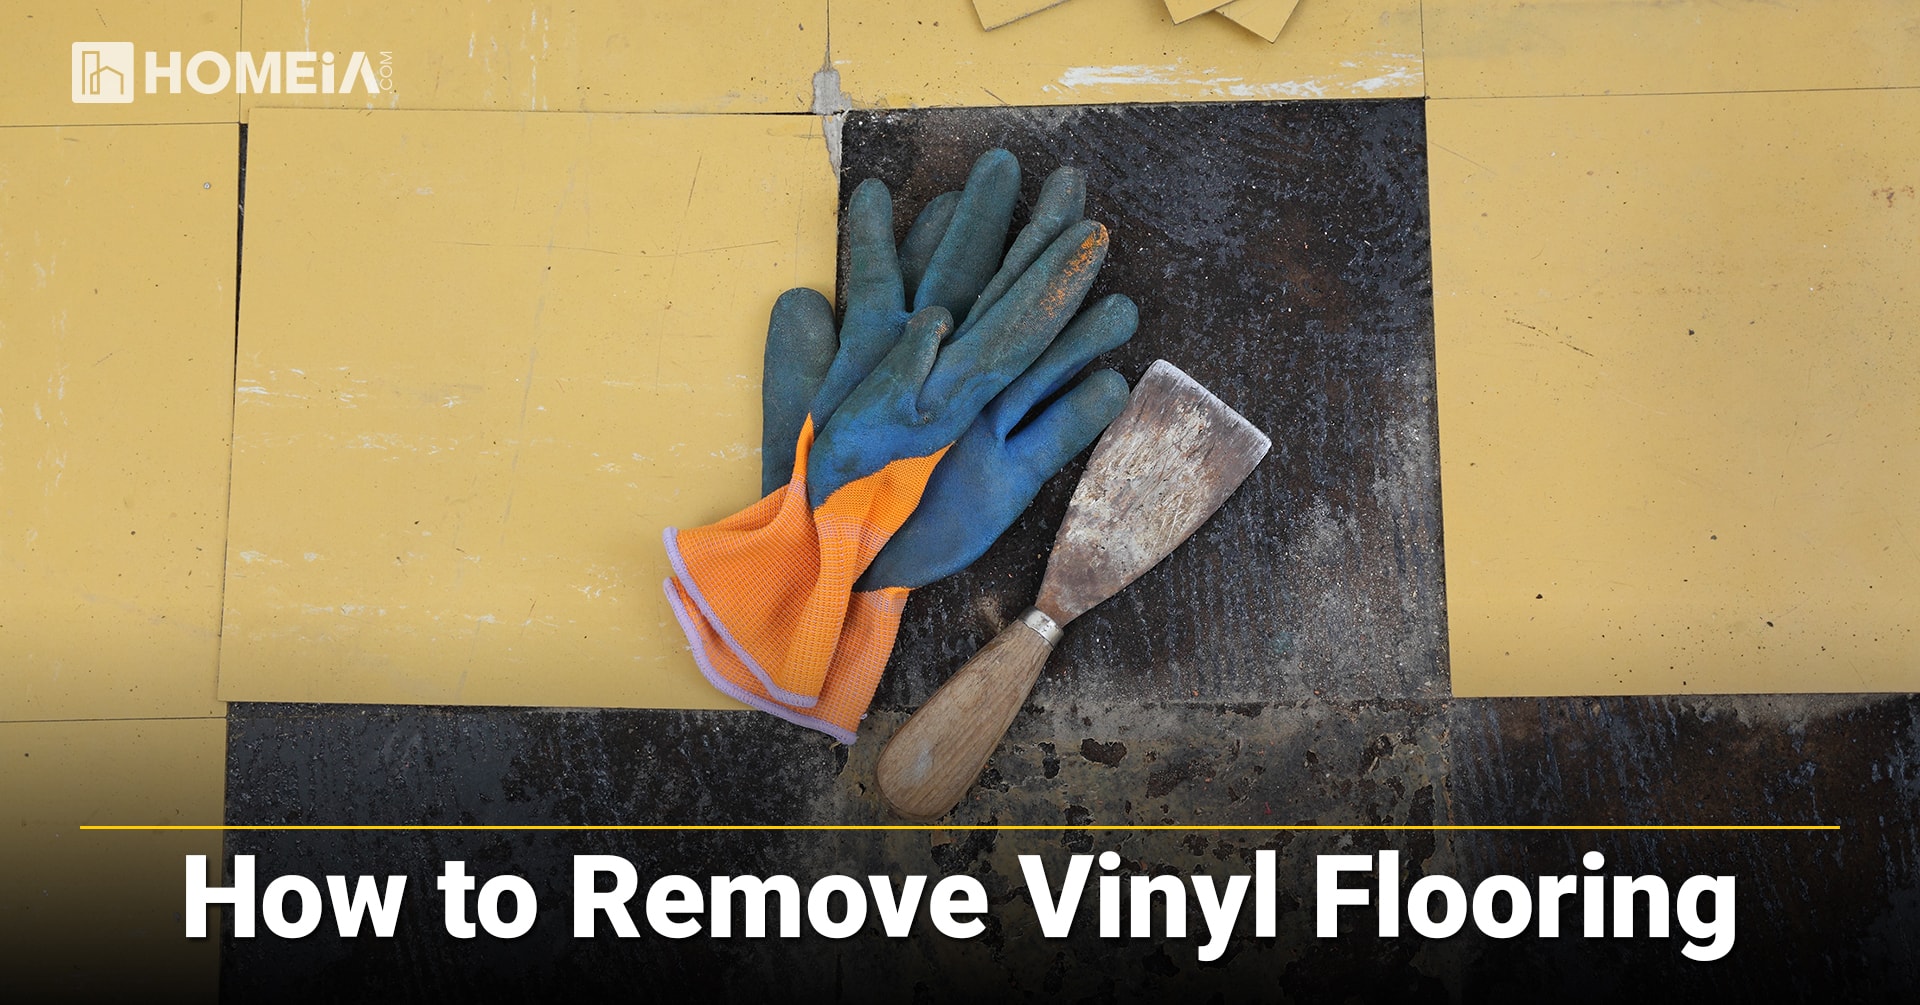
How to Remove Vinyl Flooring
- Local Editor:Local Editor: The HOMEiA Team
- Category: Home Maintenance , Home Improvement

You’re staring at the floor, wondering, “How would this room look with tile?” Or maybe, “I wonder if there are hardwood floors under there.” Perhaps you’ve never liked the vinyl at all. In any case, it’s time for it to go.
To remove your own vinyl flooring, you’ll need to remove the baseboards, pull the vinyl out by tiles or strips, free stubbornly glued areas, and clean the remaining adhesive off the floor underneath.
It can require a lot of work to get your floors back to blank-slate condition, but the good news is that the process is inexpensive and DIY-friendly.
A Word of Caution
Before the 1980s, asbestos vinyl flooring was very common. If your floors are (or could be) at least 30 years old, don’t touch them. Find a licensed asbestos abatement contractor who can test your floors and manage removal if you decide to proceed.
Disturbing asbestos is hazardous. In some cases, the old flooring can be left in place and a new floor can be installed on top of it; your contractor can tell you whether this is a possibility.
I. When to Remove Vinyl

Not sure if the existing flooring needs to go? Here are a few signs that the floor should be replaced:
- a. Peeling. Overheating and water damage can cause vinyl to peel.
- b. Peaking. If the flooring sticks up away from the subfloor, it may lack appropriate space to expand, and the problem is likely to worsen.
- c. Gapping. Sections of flooring can pull away from each other, typically due to extreme temperature shifts.
- d. Cracking sounds. When flooring ages it can become brittle, leading to a slight cracking sound as you walk across it.
These are all physical signs that the flooring will need to be replaced soon.
Sometimes, though, the flooring is in good shape, but it’s out of style—or you just hate it. Those are reasons to remove your vinyl, too.

Related article
10 Economical Flooring Options to Update your House and Add Value
Flooring comes in many styles and options, so you can easily find a variety of ways to keep the costs down while enhancing the value of your home in the process. Here’re 10 options for budget-friendly flooring that will help you keep the full cost of flooring replacement under control…
II. How long will it take?

It depends, of course, on how large the floor is, and on the condition of the vinyl, adhesive, and subfloors. Pulling up the unglued pieces can go quickly, but removing debris and adhesive residue can take a few hours of hard work. For a typical room, estimate about 4 to 6 hours.
III. How much will it cost?

Since you’re not bringing in new materials at this stage, the only cost is for tools to remove the flooring. The basic tools are relatively inexpensive, and you can rent more specialized equipment if you decide to use it. Plan on about $50 to $75 for standard tools, and more for additional rentals.

Related article
17 Key Steps to Install Laminate Flooring
It’s durable and beautiful and can work with any décor, but one of the best things about laminate flooring is that many people can install it on their own. If you have a weekend, a little finesse, and a good attitude, you too can install your own laminate floor…
IV. What will you need?

You can find the tools for this job at your local hardware store. Here are the items you may end up using:
- a) Wood chisel and hammer. This chisel can be used to pry up vinyl tiles or to separate vinyl from the subfloor.
- b) Wide putty knife. The wide surface is helpful for getting underneath the vinyl.
- c) Flat pry bar.This tool will help you pull up pieces of tile.
- d) Long-handled floor scraper. Use this to scrape adhesive off the floor; the long handle will help save your back.
- e) Impact driver or drill/driver. This will help you remove screws from the subfloor.
- f) Detail sander. A sander will help you remove stubborn old adhesive and is especially useful if you’re looking to uncover original hardwood flooring.
- g) Wet/dry vacuum. Use a vacuum to clean up the dust produced by sanding and scraping.
- h) Toekick saw.This saw can be helpful when removing vinyl from a kitchen; it allows you to cut through the vinyl and underlayment up against your cabinets.
- i) Oscillating multi-tool. In tight spaces and corners, this tool (with a flush-cutting blade) can reach where the toekick saw can’t.
- j) Drum floor sander. Rent a sander if you are removing adhesive to expose a hardwood floor.
- k) Respirator. Protect your lungs from particles and dust that are released into the air.
If you’re not sure whether you’ll need a tool, start without it. You might save yourself some money, and you can always make another trip to the hardware store.
Recommended for you


Steps to remove the vinyl floor
Once you have all your supplies, you’re ready to begin removing your vinyl flooring.
Step 1: Clear the room.
Remove anything—rugs, furniture, etc.—that sits on top of the flooring you wish to remove. This will give you plenty of space to work and prevent your belongings from getting dirty or dusty.
Step 2: Evaluate the existing floor.
You should have already ascertained that asbestos isn’t a concern with your existing floor—it was installed after 1980 or has tested negative for asbestos.
Take a look at your floor to determine its condition. Is it peeling or brittle? Either condition can make it more difficult to remove in large chunks.
Vinyl comes in sheets and in tiles. Can you determine which you have by looking for seams? Sheets are easier to remove because they are likely to be glued only along the outside, whereas tiles may be individually glued.
Step 3: Prepare yourself.
Safety comes first. To keep yourself from breathing the dust that is released into the air when the floor is disturbed, wear a respirator. You may also want protective eyewear to keep dust and chips out of your eyes. Gloves may be useful if you plan to use your hands to pull up sections of the floor.
Step 4: Remove the trim.
You can slip a wide putty knife between the trim and the wall, then use a prybar to (gently) pull each piece of trim off the wall. Remove or cut off any nails that stick out and store the trim out of the way.
You may find it helpful to number or otherwise label the pieces as you remove them, so you know how to put them back when you’re done.

Related article
10 Ways to Add Greenery to your Living Room
Big or small, on their own or in groups, plants are a great way to bring nature into your home. Here we’ve gathered ten fresh, creative ideas for bringing greenery into your living room…
Step 5: Begin removing vinyl.
If you have sheet vinyl, start in the middle of the room, where the flooring is less likely to be glued down, and use a utility knife to cut out a strip of flooring at a time. Pull the vinyl up, moving toward the glued edges of the room.
If you have vinyl tile, start at the threshold. Use a hammer and chisel to pry up the first corner, then slide a putty knife underneath to separate the floor and subfloor. Work your way across the room, pulling up one tile at a time. If the tile comes up easily, a floor scraper may be the best tool for working quickly.
Experiment with your tools to find out what works best to remove tile as you go. You may find the floor scraper, putty knife, chisel, or just a pair of gloves to be the most effective.
Step 6: Remove the glue (or the subfloor).
The next step will depend on what you find under the vinyl, and what you intend to replace it with.
- a. Existing hardwood. If the vinyl has been installed directly over existing hardwood floors, and you hope to restore them, use a detail sander to take off the old adhesive.
- b. Damaged subfloor, or the wrong kind. If you’re planning to replace the subfloor, you can remove the existing layer and not worry about the glue.
- c. Usable subfloor. If you’re keeping the subfloor, you’ve reached the most challenging part of the project: removing all the residual adhesive to restore a smooth surface.
Scrape up any that comes off with ease. Next, try applying warm, soapy water to the glue and letting it soak in; this may render the glue easier to remove.
If the soap doesn’t help, try using a heat gun (you may be able to rent one) to soften the glue, then scrape it off.
Step 7: Clean up.
When you’re done, remove all debris using contractor bags or a bin. Sweep the floor, then follow with a vacuum. You should be left with a clean slate for installing the new floor.

Related article
Best Interior Wall Colors for Selling a House
Before you put up your property for sale, your realtor might suggest that you repaint the interior walls. Your choice among the various shades of a particular color can have a tremendous impact on the first impressions the house makes on your potential homebuyers, and these impressions can make or break the sale…
V. Do you really need to remove your vinyl?

If all of these steps seem like too much work, you may be wondering whether you really need to remove your vinyl flooring in the first place. Here are two other options:
- 1. Fix small problems.
If your vinyl is damaged in one area—say, a scrape from the leg of a chair, or a cut from a dropped knife—the easiest way to repair it is to replace the vinyl tile that was
damaged.
For sheet vinyl, or if you don’t have a replacement tile to use, you can seal surface problems with a liquid seam sealer. - 2. Put a new floor over the existing floor.
In some cases, you don’t need to remove the vinyl to put a new floor on top of it. If the vinyl is smooth, level, and in good shape, and if it won’t make the resulting floor too
high, the vinyl can serve as the underlayment for a new top layer.
There are many things to consider when removing your vinyl flooring, but with some advance planning you can save some money and do it yourself. Clear the way for a great new floor that you truly love.


Share