






How to File a Roof Insurance Claim: A Step-by-Step Guide for Homeowners
- Local Editor:Local Editor: The HOMEiA Team
- Category: Insurance


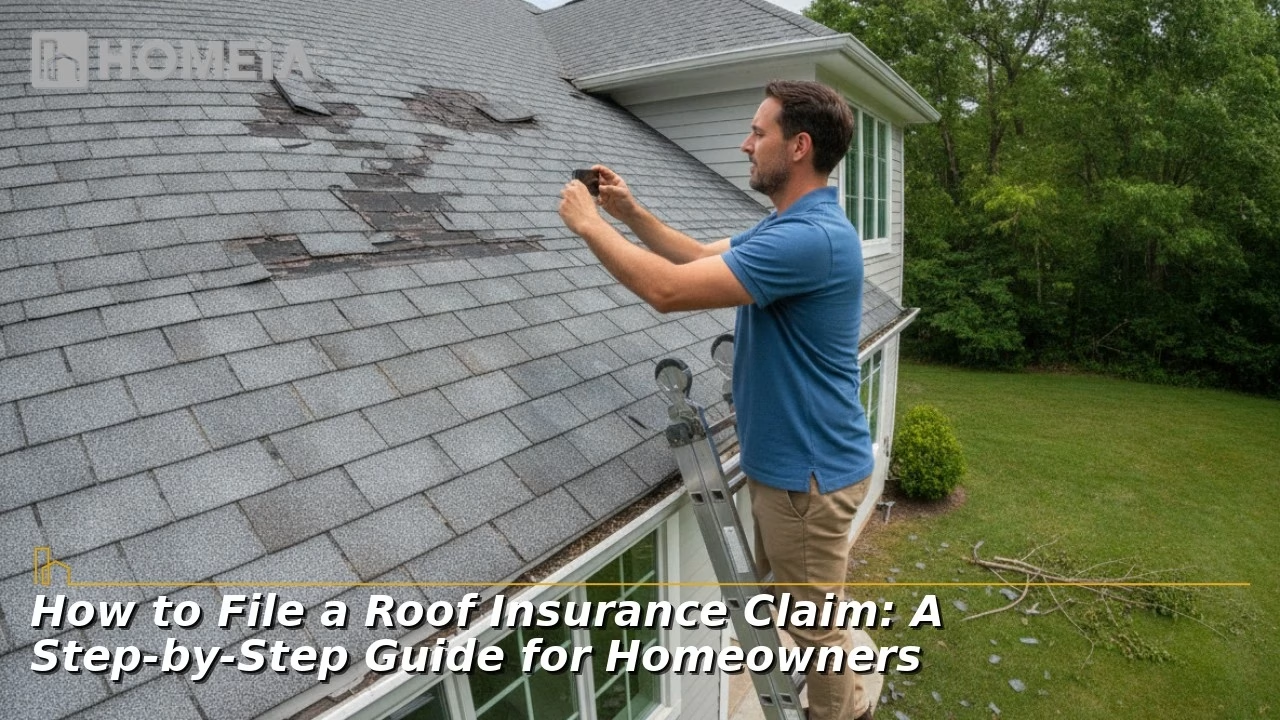
Filing a roof insurance claim is one of the most financially consequential actions a homeowner can take, yet most have never done it before the moment they need to. A single misstep in sequence, missed deadline, or poorly-documented damage report can reduce a legitimate payout substantially or result in a denial entirely. This guide walks through every stage of the roof insurance claim process in precise technical detail to easily navigate it with confidence, capture the maximum legitimate payout, and avoid costly errors that insurers count on.
Key Takeaways
- Document all damage thoroughly with time-stamped photos and video before contacting your insurer. Making permanent repairs beforehand can reduce or invalidate your claim.
- Know whether your policy pays ACV (Actual Cash Value, minus depreciation) or RCV (Replacement Cost Value, full replacement cost), the difference on a single claim can be substantial.
- Be physically present during the insurance adjuster’s inspection, and have an independent roofing contractor with you to point out all damage.
- With an RCV policy, always submit the contractor’s final invoice to collect the depreciation holdback check.
- Most insurers require claims to be filed within 12 to 24 months of the date of loss, missing that deadline can forfeit coverage entirely.

Related article
What Type of Damage to a Roof Is Covered by Insurance?
Let’s take a closer look at what types of damage you can expect to have covered and a few tips in case you have to make a claim…
1. What Is a Roof Insurance Claim?
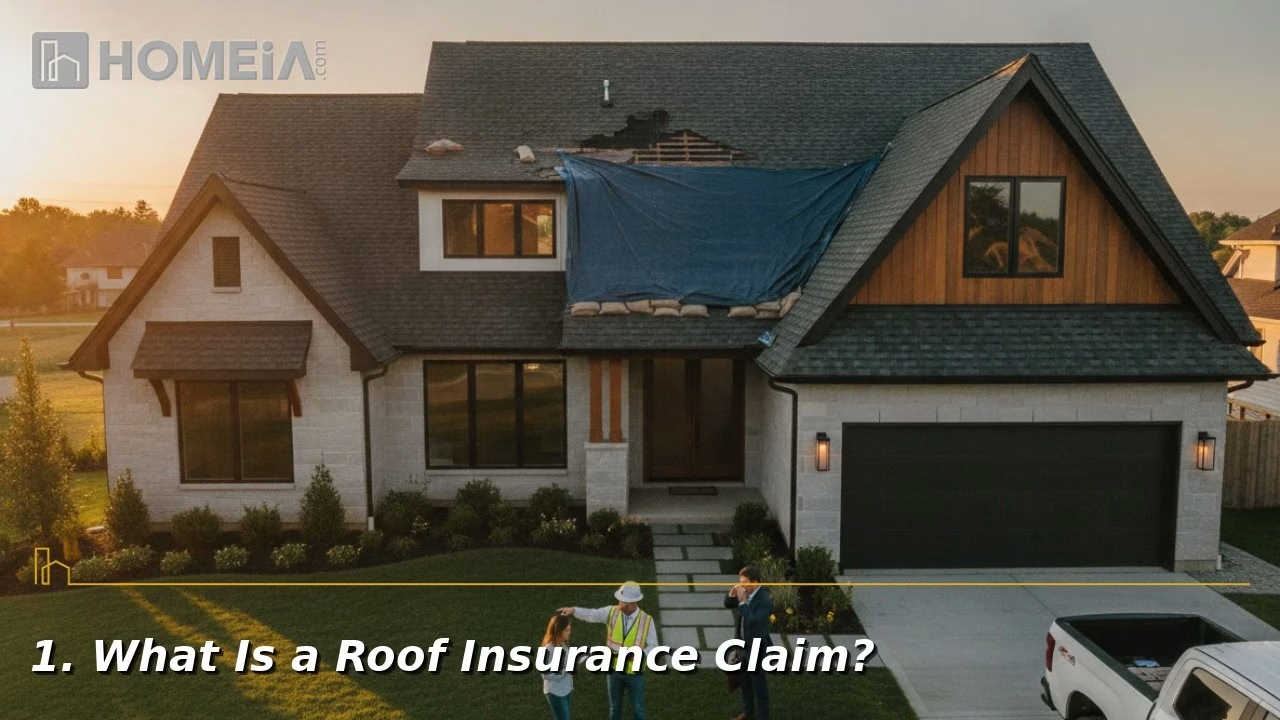
For many homeowners, the process starts with a visible symptom, interior staining, damp insulation, or a recurring leak that finally pushes them to call a roof leak repair New Jersey specialist or a local roofer in their own state. By the time you notice water intrusion inside the home, the underlying roof damage may already be extensive, and the way you document and report that damage will directly influence how much your insurer pays. Treat every leak or suspected roof issue as a potential insurance event and begin documenting immediately, even if you plan to have a contractor perform temporary repairs to prevent further interior damage.
Understanding the distinction between covered and excluded damage is critical before filing. Insurers employ professional adjusters trained to identify pre-existing deterioration predating a storm event, and claim denials often cite wear-and-tear exclusions. A roof that has sustained legitimate hail impact damage on shingles showing moderate granule loss may be partially approved or denied if the adjuster determines the granule loss occurred before the storm rather than resulted from it. This is why independent documentation and professional contractor support are so important at every stage.


Related article
Gain Big Benefits with a Pre-Listing Home Inspection
You want the best price and relatively short, smooth sailing. You don’t want to be the one with the sad story to tell. I’ve learned how to avoid some of the inevitable stress and get the job done. In this article, I’ll explain why it pays off to have a pre-listing home inspection. Let’s take a look…
2. Understanding Your Policy Before Damage Occurs

The single most valuable action a homeowner can take is reading the Loss Settlement clause of their homeowner’s insurance policy before any damage occurs. It governs how the insurer calculates and pays your claim, and two radically different systems are in common use today.
A. Actual Cash Value (ACV) policies pay the depreciated value of the damaged roof at the time of loss. Depreciation is calculated based on its age relative to the expected lifespan. On a 30-year asphalt shingle roof that is 15 years old, the insurance company may determine the roof has consumed half its useful life and apply 50% depreciation to the total repair cost. This can leave the homeowner responsible for a significant out-of-pocket balance.
B. Replacement Cost Value (RCV) policies pay the full current cost to replace the damaged roof with materials of like kind and quality, minus the deductible. RCV policies carry higher premiums, but represent a substantial financial safeguard for homeowners in hail-prone regions.
| Policy Factor | ACV (Actual Cash Value) | RCV (Replacement Cost Value) |
| Depreciation Applied? | Yes, subtracted from payout | No, covered in full |
| Number of Checks | One (depreciation already deducted) | Two (initial check + holdback released after repair) |
| Example Outcome | Lower initial payout | Higher total payout |
| Best For | Lower-premium situations, newer roofs | Maximum protection on aging roofs |
Also review your deductible amount. Many policies issued in hail-prone states carry a percentage-based wind and hail deductible separate from the standard flat deductible, typically 1% to 2% of the home’s insured value. On a home insured for $400,000, a 2% hail deductible means $8,000 out of pocket before the insurer pays anything. Verify before filing so you can evaluate whether the damage amount justifies the claim.

Related article
Why insurance gives first-time Home Buyers peace of mind
In this article, we’ll discuss why insurance is so important to the first-time home buyer and help you make sure you’ve got this covered. Buying your first house is a major decision, and after all your hard work to finally call that house your home, you want to protect your investment…
3. Here are 7 critical steps you need to take
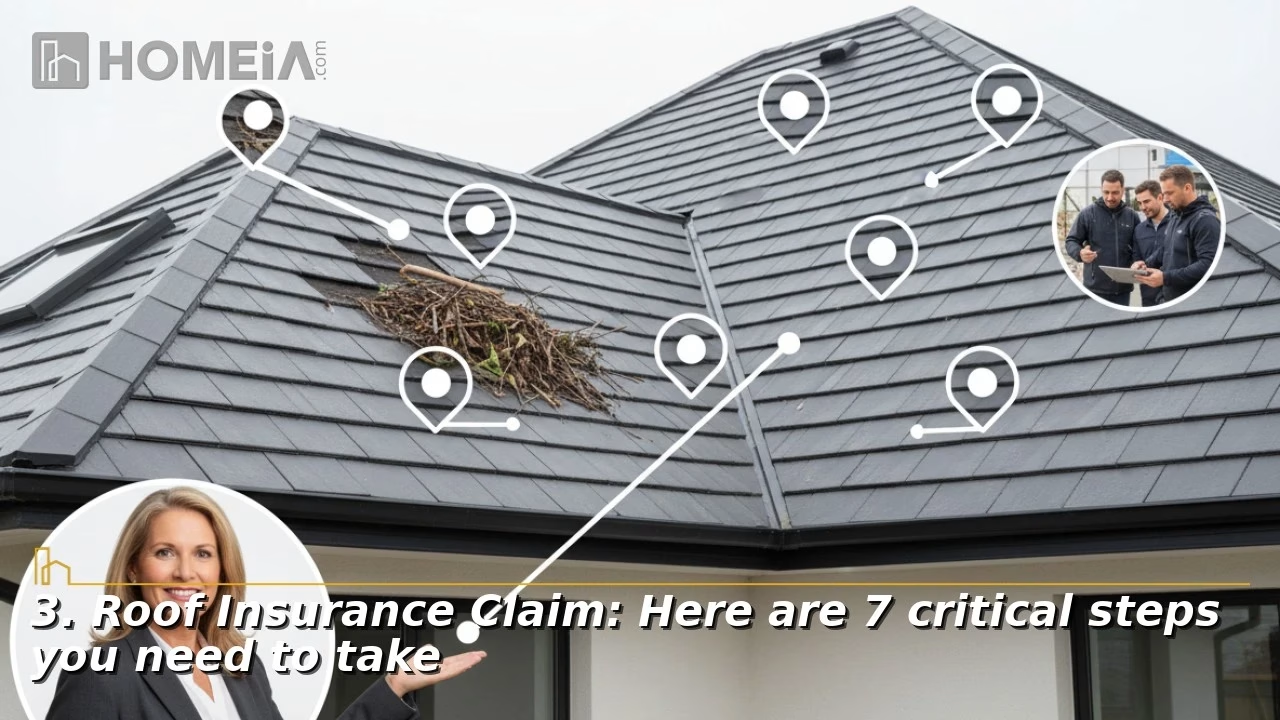
Step 1: Document the Damage Immediately, Before Calling Anyone
As soon as storm damage is suspected, document everything from the ground before contacting your insurer or a contractor. Time-stamped visual evidence is the legal foundation of your claim.
- Photograph every visible area of damage including missing shingles, dented gutters, displaced flashing, cracked ridge caps, and any debris on or around the roof.
- Capture interior damage as well. Water stains on ceilings, wet insulation in the attic, and damaged drywall all establish a chain of causation linking the storm to interior losses.
- Record video walkarounds to supplement still photographs, video captures continuous context that individual photos may miss.
- Download and save weather data confirming the storm event, including National Weather Service reports, local weather records, or hail tracking maps. This corroborates the date of loss your insurer will require.
- Do not make permanent repairs before the adjuster visits, doing so removes critical evidence and can reduce or void your payout.
Emergency temporary repairs are the exception. Placing heavy-duty tarps over breached sections to prevent interior water damage is not only permitted but reimbursable under most policies. Photograph all temporary repair materials and labor as well.

Related article
7 Home Insurance Tips for the First-Time Home Buyer
When you’re considering homeowners insurance, you want to get the right coverage from the best provider, and at a good price. But how can you figure this all out? To help you get the coverage you need while staying within your budget, here’re a few key tips for you to follow…
Step 2: Review Your Policy and Check Filing Deadlines
Before opening the claim, locate your full homeowner’s insurance policy and review four critical items:
- Coverage type, ACV or RCV.
- Deductible amount, standard flat deductible vs. percentage-based wind/hail deductible.
- Covered perils and exclusions, confirm the event type is listed as covered.
- Filing deadline, most policies require a claim to be opened within 12 to 24 months of the date of loss. Filing after this window typically results in automatic denial.
Insurers are not obligated to notify homeowners of these deadlines, and many legitimate storm-damage claims are forfeited because homeowners delay. If the policy language is unclear, contact your independent insurance agent for interpretation before filing.
Step 3: Get an Independent Roofing Contractor Inspection First
Before scheduling the insurance adjuster’s visit, hire a licensed roofing contractor to perform an independent inspection of the roof. This step is frequently skipped and regretted.
For homeowners in areas prone to weather damage, seeking a fast roof leak repair services is critical. An experienced and local roofing contractor will provide the independent assessment and fast services you need.
An experienced roofing contractor will produce a written damage assessment itemizing every impacted component like shingle fields, ridge caps, step flashing, valley flashing, drip edges, pipe boots, ridge vents, gutters, and soffits. This document provides the homeowner an independent scope of damage to compare against the adjuster’s report. When there is a significant discrepancy, the contractor’s written estimate serves as the basis to challenge the adjuster’s findings.
Find a contractor who holds an active state-issued roofing license, carries general liability insurance and workers’ compensation, and is familiar with the estimating software most insurance carriers use for claim pricing. Manufacturer-certified contractors carry additional credibility because their certifications require independent quality audits.
Recommended for you



Step 4: Open the Claim and Log Every Communication
Call your insurer’s claims department to formally open the claim. You will receive a claim number and an adjuster assignment. Record everything:
- Note the date, time, and name of every person you speak with.
- Prefer written communication (email) over phone calls wherever possible, written records are far more valuable in dispute scenarios.
- Confirm the claim number, adjuster’s name and contact information, and expected timeline in writing.
- Ask the insurer explicitly whether your policy is ACV or RCV if the Loss Settlement clause was unclear.
Most state regulations require insurers to acknowledge a claim within 10 to 15 business days, though actual adjuster scheduling often takes longer, especially following widespread storm events when carriers face high claim volumes.
Step 5: The Adjuster Visit, Be Present and Prepared
The insurance company’s staff adjuster, or an independent adjuster hired by the carrier, will schedule an on-site inspection. This visit is the single most consequential moment in the claims process.
Be present at this inspection without exception. Having your licensed roofing contractor present as well, the contractor can safely access the roof alongside the adjuster, identify damage the adjuster might overlook, and speak about construction standards and material damage thresholds. Walk every exterior area of the property with the adjuster. Calmly point out all documented damage and reference your photos. Do not argue, but do ask specific questions like, “Can you confirm you’ve noted the damage to the north-facing valley flashing?” or “Have you recorded the impact marks on the ridge caps?”
After the inspection, an adjuster will produce a scope of loss report, itemizing line-item allowances for each damaged component. Request a copy of this report for comparison against your contractor’s independent estimate.
Step 6: Review the Settlement Offer and Negotiate if Necessary
The insurer will issue a formal settlement offer based on the adjuster’s scope of loss. Compare this offer against your contractor’s independent estimate line by line. The following responses are available depending on the gap:
- Gap under 10-15%: The difference may reflect legitimate scope disagreements or regional pricing variables, consider accepting with a supplement request for any missed items.
- Gap of 15-30%: Request a formal re-inspection with a different adjuster, provide your contractor’s written estimate as a counter-scope, and document the specific line items in dispute.
- Gap over 30% or outright denial: Consider two escalation paths, a formal internal appeal through the insurer’s dispute process, or engaging a licensed public adjuster.
A public adjuster is a licensed professional representing the policyholder, not the carrier, in negotiating the settlement. They charge a percentage of the final claim payout as their fee. This arrangement can be valuable on large, complex, or denied claims where the adjuster’s negotiating expertise recovers significantly more than the fee represents, but on straightforward claims, the commission may reduce the net payout below what direct negotiation would have achieved. Use a public adjuster as an escalation tool rather than a first resort.
Any contractor or adjuster who offers to waive your insurance deductible is a legal red flag. Avoid any contractor who makes this offer.

Related article
Why You Must Hire an Insured General Contractor for Your Home Construction Project
If you decide to venture out on your own and have a custom built home with a custom home builder, do make sure you do your due diligence and find out as much as possible about your potential builder or in another word, your general contractor…
Step 7: Complete the Repairs and Collect the Final Payment
Once the settlement is agreed upon, select your licensed, insured roofing contractor and schedule the work. With an RCV policy, the payment structure unfolds in two phases.
Phase 1, Initial Check: The insurer releases the Actual Cash Value amount once the claim is approved. This represents the approved repair cost minus depreciation.
Phase 2, Depreciation Holdback: After the repair work is completed, submit the contractor’s final invoice to the insurer. The carrier then releases the “recoverable depreciation”, the amount held back to ensure repairs are actually made.
Failing to submit the final invoice can forfeit the holdback, a common mistake costing thousands of dollars. Set a calendar reminder: many insurers require the depreciation release to be claimed within a limited period after the initial settlement.
4. Common Mistakes That Reduce Roof Insurance Claim Payouts
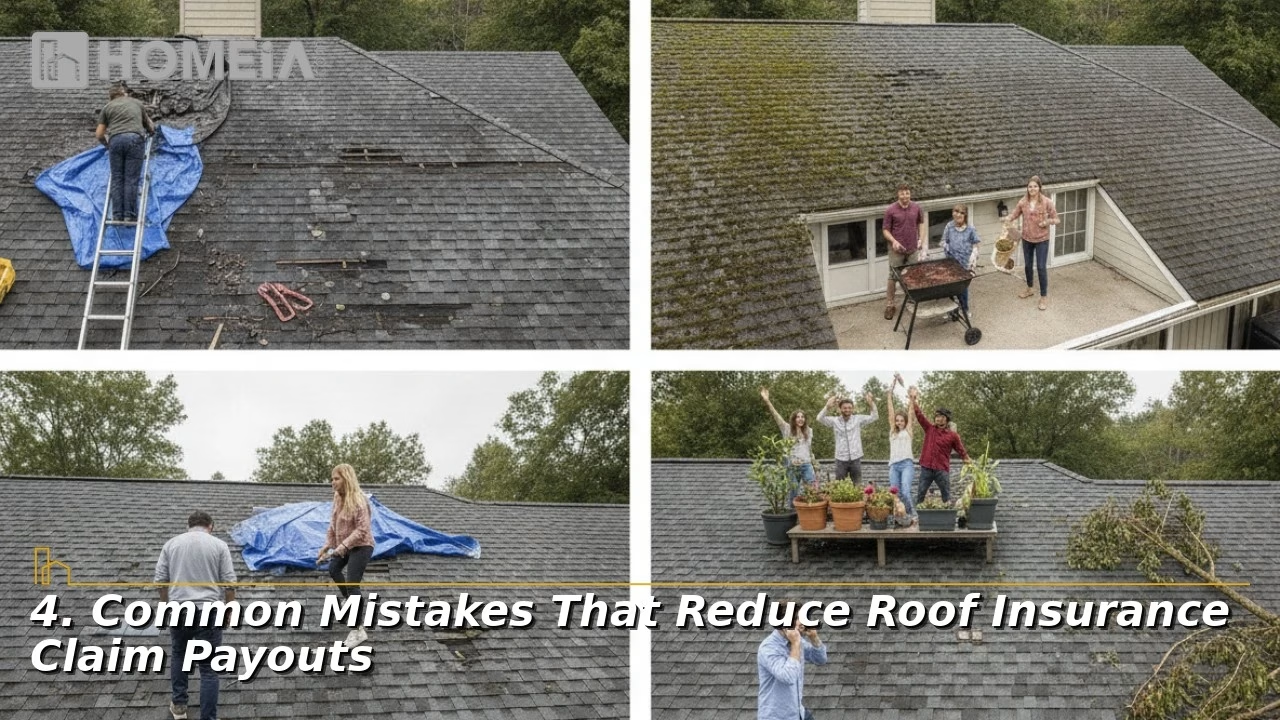
The following errors consistently result in delayed, reduced, or denied claim payouts:
- Making permanent repairs before the adjuster arrives, removes evidence the insurer needs to assess the damage.
- Filing too late, missing the policy’s filing window can void coverage entirely.
- Accepting the first offer without comparison, initial offers frequently underprice labor or omit peripheral damage.
- Providing incomplete documentation, missing photos, missing dates, or inconsistent damage descriptions give adjusters grounds to reduce scope.
- Signing contractor contracts before the claim is approved, creates legal obligation without confirmed funding.
- Not submitting for depreciation holdback, forfeits the second check entirely on RCV policies.
- Hiring unlicensed or storm-chaser contractors, insurers may reject repair invoices from contractors lacking proper licensing.

Related article
Important Reasons Why Total Home Warranty is a Right Choice
When you purchase a new home, its care and maintenance become a top priority for you. One way to ensure that your home appliances and other electrical systems are taken care of is by protecting them under total home warranty. This article will help you decide whether a home warranty is a right resolution for you or not…
How Long the Process Takes
The total timeline from damage event to final payment typically spans 30 to 90 days, though complexity, adjuster availability, and claim disputes can extend this significantly.
| Stage | Typical Duration |
| Initial claim filing | Day 1 |
| Adjuster assignment and scheduling | 1 to 2 weeks |
| Adjuster’s damage report completion | 2 to 4 weeks after inspection |
| Insurer approval and initial check issued | 1 to 2 additional weeks |
| Repair work completed | 1 to 3 weeks depending on scope |
| Depreciation holdback released after final invoice | 1 to 2 weeks after invoice submission |
Claims filed immediately following large regional storm events, hail outbreaks, hurricanes, or tornadoes, often experience longer timelines due to high adjuster demand. Proactive homeowners filing quickly, maintaining organized documentation, and responding promptly to insurer information requests consistently achieve faster resolution.
Conclusion
Filing a roof insurance claim successfully is a process governed by documentation discipline, policy literacy, and professional support. Homeowners understanding their coverage type before a storm, documenting damage thoroughly the moment it occurs, obtaining an independent contractor assessment, and remain present and engaged throughout the adjuster inspection consistently recover the maximum legitimate payout their policy provides. People who skip any of these steps routinely leave money on the table, or receive a denial that a better-prepared filing would have avoided. A licensed, manufacturer-certified roofing contractor who is experienced with insurance claims is not just a repair vendor, they are a critical technical advocate at every stage of this process.
Recommended for you




FAQs About How to File a Roof Insurance Claim
1. Should I file a claim if the estimated repair cost is close to my deductible?
Filing a claim resulting in a payout near or below your deductible rarely makes financial sense, and it still goes on your claims history. Most carriers track claim frequency, and multiple claims within a short window can trigger non-renewal or premium increases regardless of payout size. For damage estimated at less than twice your deductible amount, obtain an independent contractor estimate first and evaluate whether paying out of pocket preserves your insurance standing more effectively.
2. What if my insurer’s adjuster misses damage during the inspection?
Request a re-inspection in writing, citing the specific missed damage items and attaching your contractor’s written assessment and photographs. If the insurer’s second adjuster reaches the same conclusion, engage your contractor to formally request a supplement supported by written documentation. If the dispute remains unresolved, your policy’s appraisal clause may allow each party to appoint an independent appraiser, who then works toward a binding decision with a neutral umpire.
It depends on the insurer, the claim type, and state regulations. Carriers in most states may raise premiums upon renewal following a paid claim, though weather-related ones are treated differently than negligence-related claims in some markets. Some insurers offer claim-free discount programs that lapse after a single claim regardless of cause. Review your policy’s conditions section or consult your independent agent before opening a claim if premium impact is a concern.
4. Is it legal for a roofing contractor to handle my insurance claim on my behalf?
A roofing contractor may produce estimates, attend adjuster inspections, and advocate for proper scope documentation as a matter of standard practice. However, formally representing a policyholder in claim negotiations requires a public adjuster license under most state laws. Assignment of Benefits agreements, in which a contractor is legally assigned the rights to the insurance payment, are heavily regulated or restricted in several states due to past abuse.
5. What should I do if my claim is denied?
A denial is not necessarily final. Request the denial in writing along with the specific policy exclusion cited as grounds for denial. Have a licensed contractor review the denial language against the physical damage evidence to identify whether the denial basis is factually supportable. If the damage is legitimately covered and the denial cites an inapplicable exclusion, file a formal written appeal through the insurer’s internal dispute process. If the appeal is denied, your options include invoking the policy’s appraisal clause, filing a complaint with your state’s Department of Insurance, or consulting a property insurance attorney.
Share