






How to Install Acoustic Wall Panels: DIY vs. Hiring a Professional
- Local Editor:Local Editor: The HOMEiA Team
- Category: Home Improvement


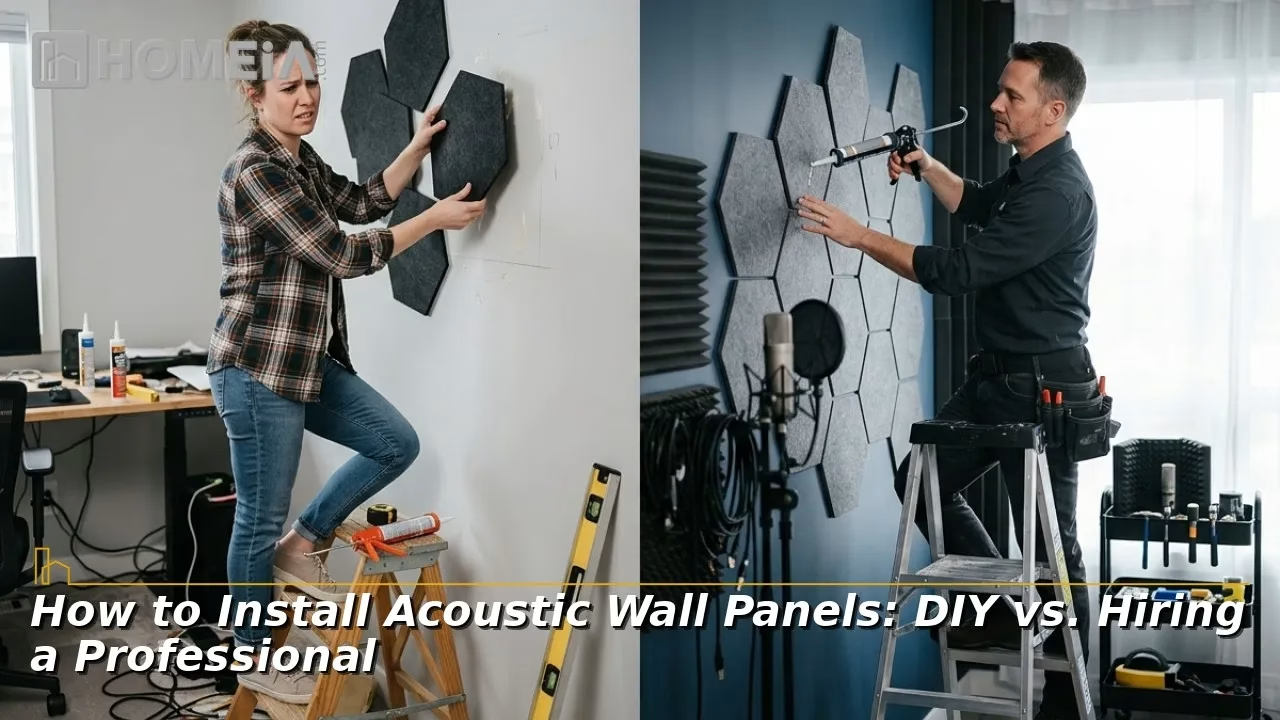
Acoustic wall panels are one of the few home upgrades where installation method changes the result as much as the product itself. The same panel performance varies depending on how it is mounted. This guide walks through the five mounting methods and what each one suits, explains why the air gap behind a panel matters more than most buyers realize, provides a step-by-step guide for laying panels out using the mirror method, and gives you a clear decision framework for when to do the job yourself and when to call in a professional. It closes with the installation mistakes that quietly waste money.
Key Takeaways
- Different mounting methods change performance. The same panel can gain or lose real absorption depending on how it is hung.
- An air gap behind the panel improves low frequency absorption at zero extra material cost.
- Use the mirror method to find first reflection points before you commit to any layout.
- Most home office and bedroom installs are comfortable DIY projects for one afternoon.
- Call a professional for ceilings, concrete or brick walls, tensioned fabric systems, and anything integrated with AV equipment.
- Renters should use Z-clips, hook and loop strips, or hanging wire, never construction adhesive.
- Over treating a room is a genuine mistake and is harder to undo than under treating it.
Related article
White Acoustic Wall Panels: Materials, NRC Ratings and Design Guide
White acoustic wall panels help reduce room echo while maintaining a bright, spacious aesthetic. This guide explains panel materials, sound absorption ratings, thickness, shapes, quantity, room-by-room applications, and the difference between sound absorption and soundproofing…
1. The Five Mounting Methods
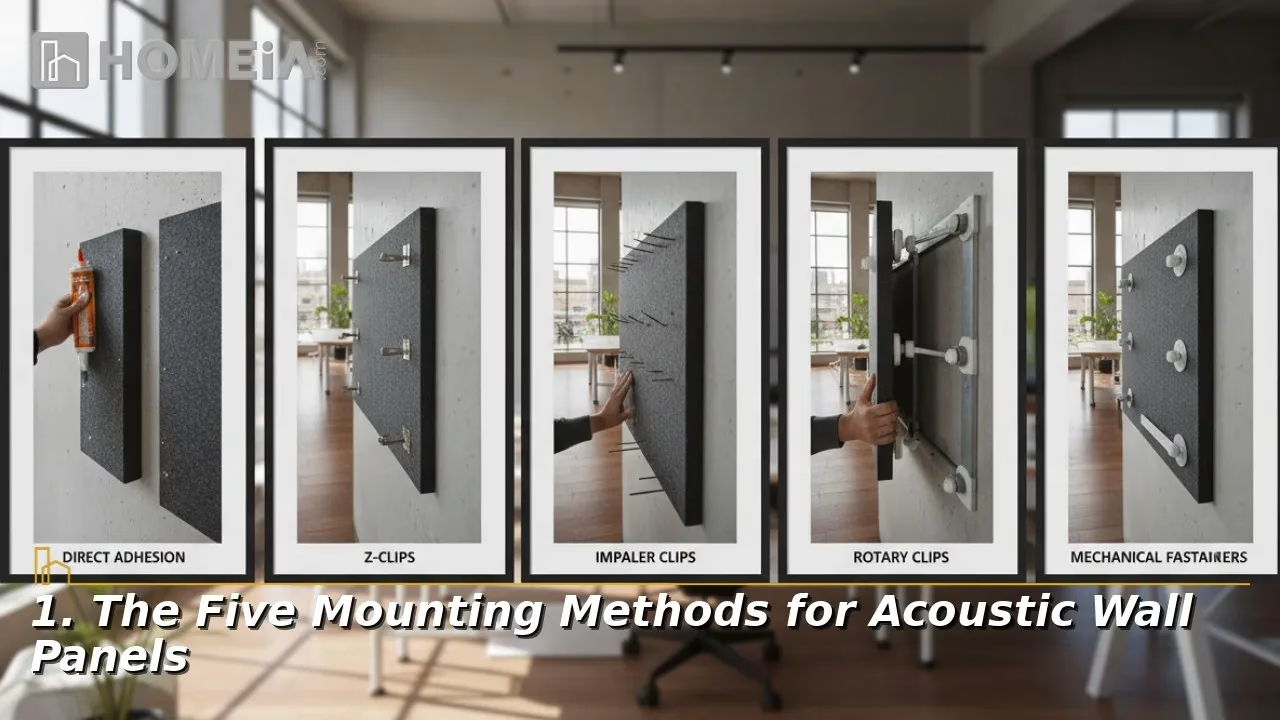
| Method | Best for | Air gap | Removable | Wall damage | Skill level |
| Impaling clips | Light fiberglass and foam panels | No | Difficult | Adhesive residue | Low |
| Z-clips (interlocking cleats) | Heavier framed panels | Yes, 1/4 to 1/2 in | Yes | Screw holes only | Medium |
| Offset or standoff clips | Performance installs | Yes, 1 to 2 in or more | Yes | Screw holes only | Medium |
| Construction adhesive | Permanent commercial work | No | No | Significant | Low |
| Hanging wire or hook and loop | Rentals and light panels | Small | Yes | Minimal | Low |
- Impaling clips. Barbed metal plates are glued or screwed to the wall, and the panel is pressed onto the barbs. Fast and inexpensive, ideal for unframed fabric wrapped fiberglass. The downside is that removal usually damages the panel.
- Z-clips. Two interlocking aluminum extrusions, one on the wall and one on the panel back, work like a French cleat. This is the best all round choice for framed panels. Panels lift off cleanly, ideal if you ever want to repaint or move.
- Offset or standoff clips. The same idea as a Z-clip but designed to hold the panel further off the wall. This is the method to choose when you want maximum performance from a given panel.
- Construction adhesive. Permanent. Reserve it for commercial installations where the panels will never move. On drywall, removal typically tears the paper face and requires patching and repainting.
- Hanging wire and hook and loop strips. D-rings and picture wire work fine for framed panels under about 10 pounds. Heavy duty hook and loop strips work for lightweight PET felt. Both are renter-friendly.
Related article
How to Hire an Audio Visual Installer: Vetting, Licensing, Quotes and Red Flags
Hiring an audio visual installer involves evaluating both physical installation skills and technical software expertise. This guide explains installer roles, AV integrators, licenses, certifications, quotes, red flags, and essential questions to ask before hiring for a home theater or conference room project…
2. Why the Air Gap Matters More Than the Panel
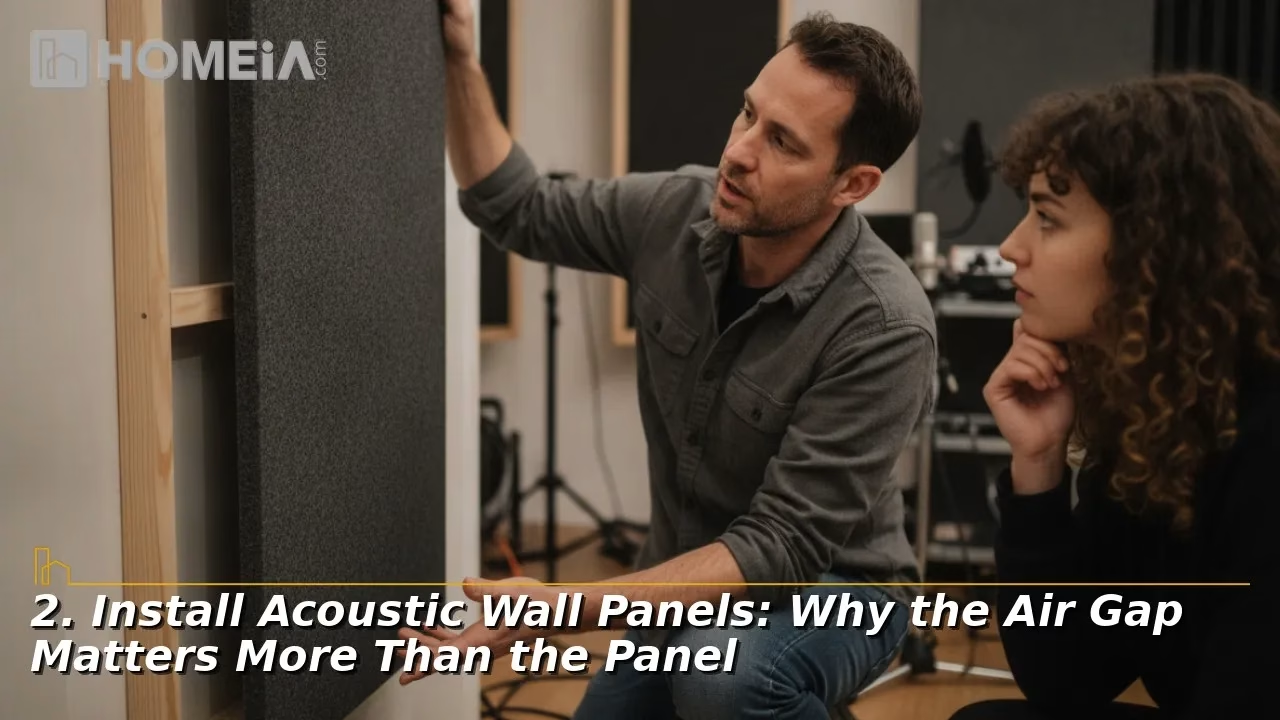
This is the part almost every DIY installation gets wrong.
Sound waves at a given frequency move fastest at a quarter wavelength away from a hard surface. A panel pressed flat against drywall sits in the wrong place to catch lower frequencies. Pull that same panel off the wall by an inch or two and it begins absorbing energy it previously reflected.
The practical effect is significant. HOMEiA’s guide to high performance interiors and acoustic wood documents this in wood slat systems, where direct surface mounting lands in the NRC 0.50 to 0.70 range while a deep resonant cavity of roughly 40mm or more. With insulation behind it, this reaches NRC 0.90 to 0.95 and above. The same principle applies to fabric wrapped and felt panels.
Three ways to build the gap:
- Use standoff clips or spacer blocks behind each panel.
- Mount panels on furring strips run vertically across the wall.
- Order framed panels where the frame itself creates a cavity behind the absorbing core.
If you follow exactly, add a one inch gap. It costs a few dollars in hardware and is the single highest return decision in the whole installation.
Recommended for you




3. Finding the Right Places: The Mirror Method
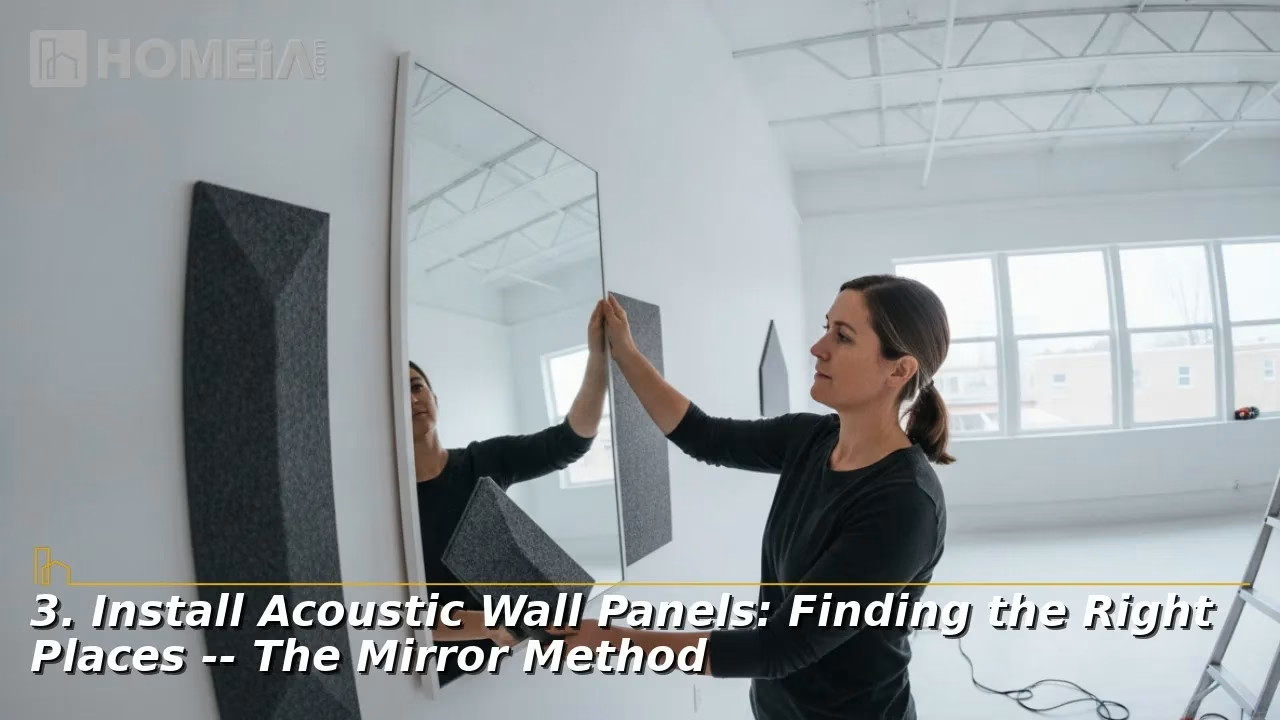
Do not distribute panels evenly out of habit. Treat the surfaces that are actually reflecting sound at you.
For a desk, sofa or theater seat:
- Sit in your normal listening position.
- Have a helper slide a small mirror flat along the side wall at ear height.
- Anywhere you can see a speaker, a monitor or your own mouth position reflected in the mirror is a first reflection point.
- Mark it with painter’s tape. That is where a panel goes.
- Repeat on the opposite wall, the wall behind you, and the ceiling if you are treating a theater.
Then fill in with these priorities:
- First priority: first reflection points on side walls
- Second priority: the wall directly behind your listening or speaking position
- Third priority: the wall behind the speakers or monitor
- Fourth priority: ceiling above the listening position
- Last: corners, where thicker panels or dedicated bass traps do more than flat panels
4. Step by Step Installation
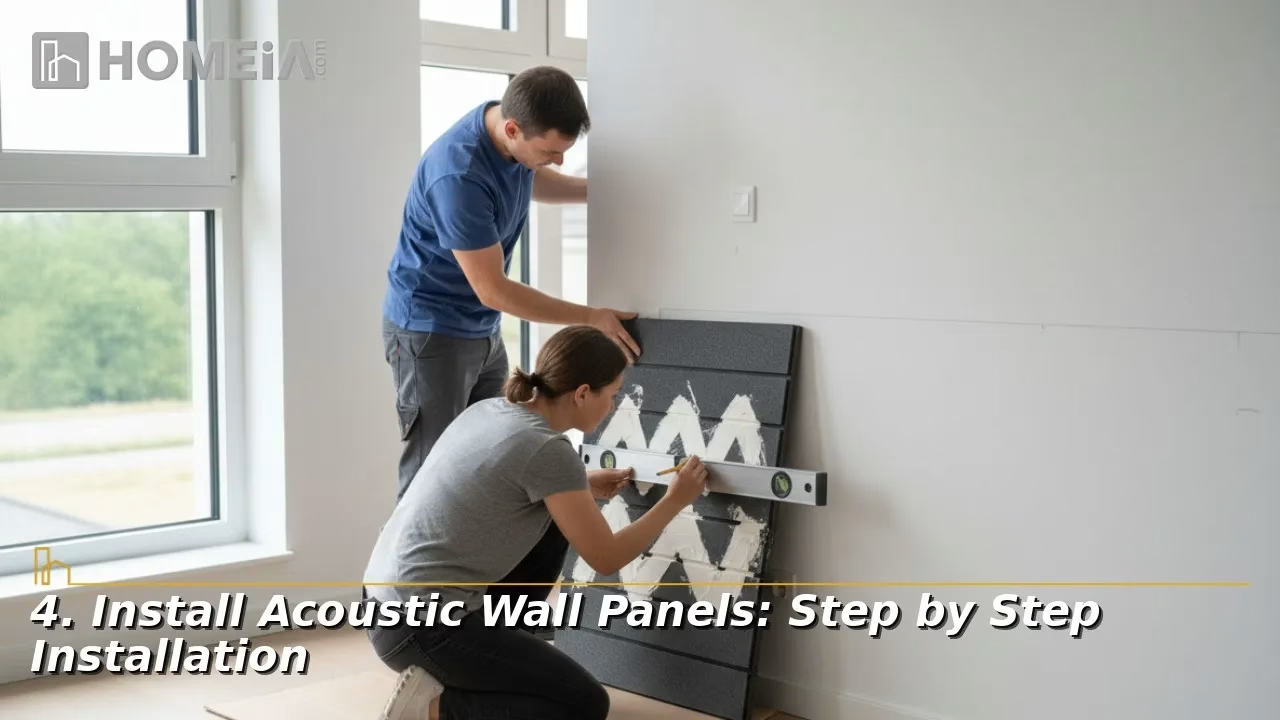
Tools: stud finder, tape measure, level, pencil, drill, painter’s tape, and a helper for anything above shoulder height.
- Dry fit the layout. Cut cardboard or paper to panel size and tape it up. Live with it for a day. Layouts that look right in a photo often look wrong on your own wall.
- Find the studs. Panels are light, but clips carry point loads. Hit studs where you can. Utilize toggle bolts or self drilling drywall anchors rated well above panel weight where you cannot.
- Mark a level datum line. Snap or draw one horizontal reference line for the whole wall and measure everything from it. Leveling panel by panel accumulates error.
- Mount the wall side hardware. Fix clips or cleats, checking level on each one.
- Add the spacers. If you are building an air gap and the hardware does not create one, install furring strips or spacer blocks now.
- Hang and adjust. Begin from the centre of the layout and work outward, so any cumulative error lands at the edges where it is least visible.
- Check spacing. Consistent gaps between panels matter more visually than perfect absolute positioning.
Related article
Office Wayfinding Signage: How to Design a Clear Navigation System for Multi-Floor Workspaces
Modern offices have evolved into complex, multi-purpose environments shaped by hybrid work and flexible layouts. Effective wayfinding signage is no longer just directional; it reduces stress, improves navigation, enhances client impressions, and reinforces brand identity. Designing these systems requires careful attention to human behavior, spatial planning, and professional design standards…
5. DIY or Hire a Professional
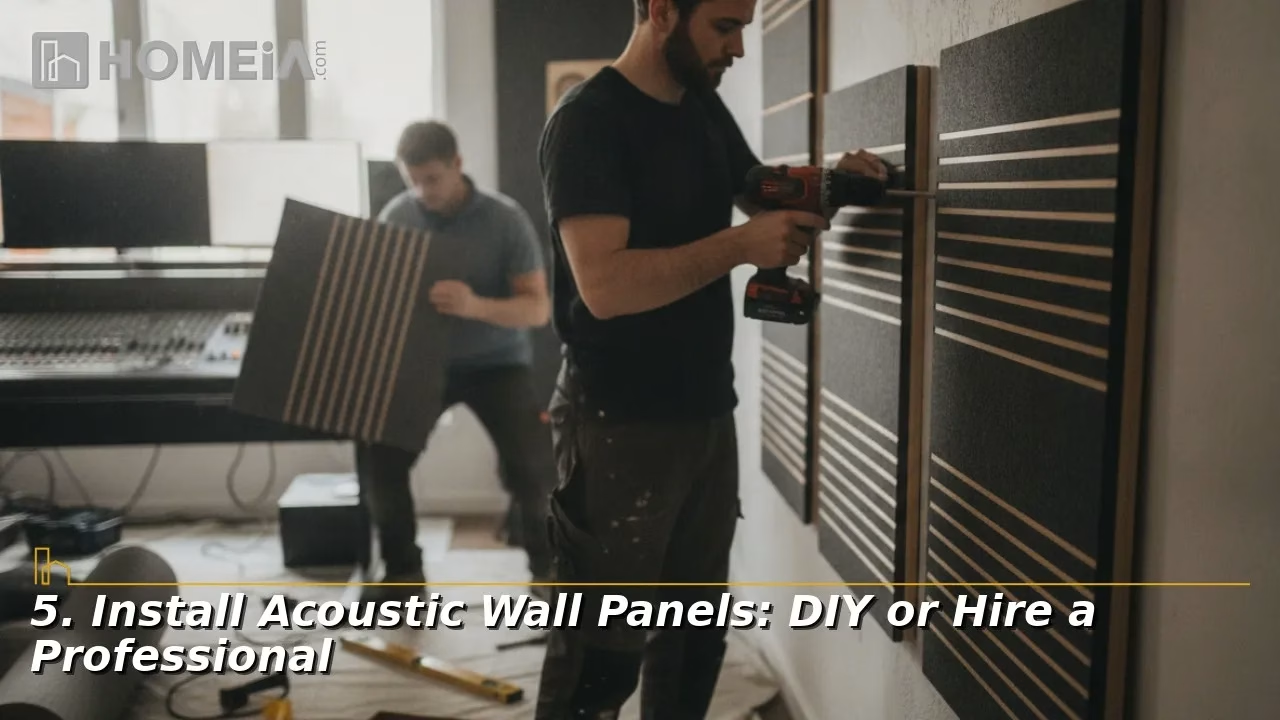
A. Comfortable DIY projects
- Home office wall treatment
- Bedroom or nursery panels
- Podcast or streaming corner
- Any lightweight panel on standard drywall at reachable height
- Renter friendly installs using hook and loop or hanging wire
B. Hire a professional
- Ceiling clouds and any overhead work, where weight, anchoring and fall risk all increase together
- Concrete, brick or plaster over masonry, which needs proper anchors and often a hammer drill
- Tensioned fabric systems, which are a finish carpentry job with almost no tolerance for error
- Panels integrated with lighting, ceiling speakers, projectors or displays
- Commercial spaces where fire rating, ADA clearance and building code compliance are on the line
- Large rooms where you want measured before and after results rather than a subjective judgement
That last category is worth thinking about carefully. If your panels are going into a media or conference room where a display, speakers and cabling all share the same walls, sequencing matters. A qualified audio visual installer will coordinate panel layout with speaker placement and cable routing to ensure you are not drilling through a freshly hung panel three weeks later. HOMEiA’s guide to DIY vs. hiring a professional for home electrical work applies the same reasoning to low voltage work.
6. Six Installation Mistakes to Avoid
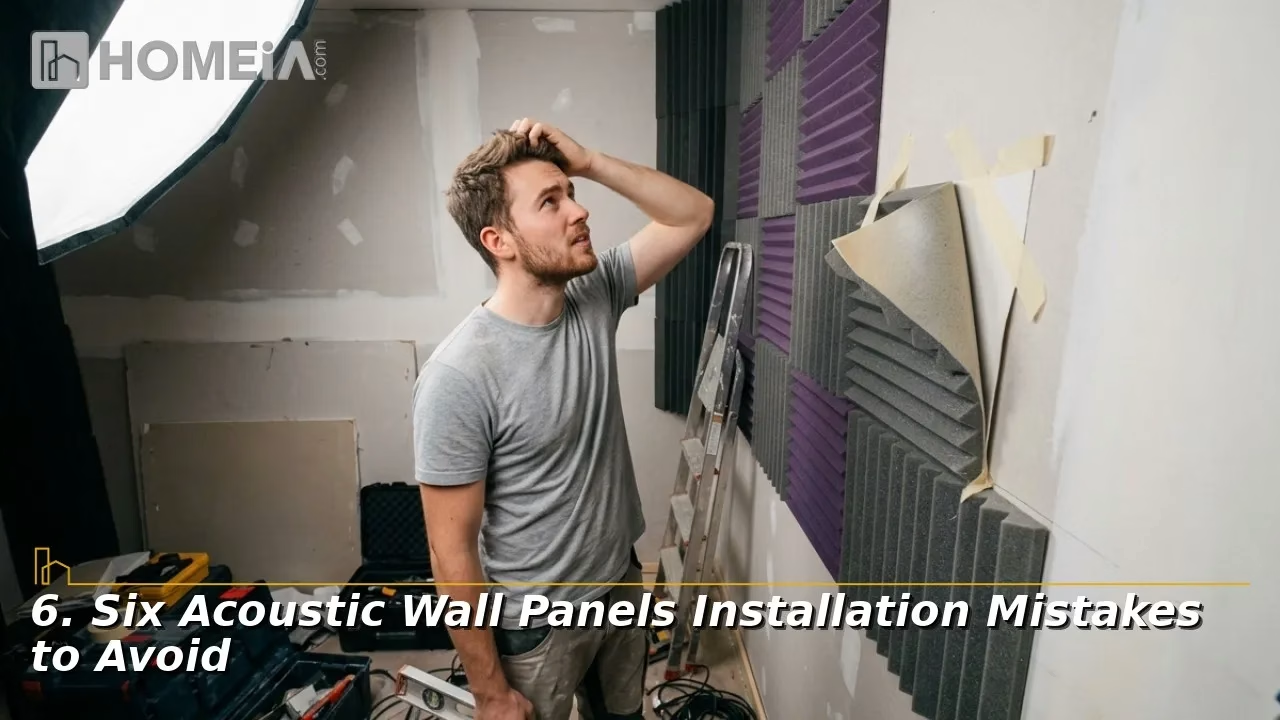
- Over treating the room. Too much absorption produces a dead, oppressive space that is unpleasant to talk in. Start at 15 to 20 percent coverage and add gradually.
- Spreading panels evenly instead of targeting reflections. Eight panels at the right points beat sixteen scattered at random.
- Skipping the air gap. The most common and highly-costly omission.
- Ignoring corners. Low frequency energy accumulates in corners. Flat wall panels do very little there.
- Using adhesive in a rental. Removal takes the drywall paper with it, and the repair usually exceeds the cost of proper clips.
- Treating only one wall. Sound reflects between parallel surfaces. Treating one side wall and leaving the opposite one bare leaves most of the problem in place.
Recommended for you




FAQs About How to Install Acoustic Wall Panels
1. How much does professional acoustic panel installation cost?
Labor for straightforward wall mounting runs somewhere in the range of 15 to 30 percent of the panel cost, or roughly 75 to 150 dollars per hour depending on your market. A single home office wall is a two to three hour job. Ceiling clouds, tensioned fabric systems and masonry walls cost considerably more because of anchoring, access equipment and time. Always ask whether the quote includes layout design or only physical hanging, because those are very different services.
2. Can I cut acoustic panels to fit around outlets, vents and windows?
Yes, with the right material. PET felt alongside unframed fiberglass board cut cleanly with a long, sharp utility knife and a straightedge, scoring in several passes rather than forcing one cut. Wrap or tape any exposed fiberglass edge so fibers do not shed. Framed panels and slat systems are much harder to modify, so measure carefully and order sizes that fit rather than planning to trim. Never cut a panel so it covers an air vent or blocks access to an electrical box.
3. Will installing acoustic panels damage drywall or cost me my rental deposit?
It depends entirely on the method. Screws and clips leave small holes that fill with spackle in minutes and are considered normal wear in most leases. Construction adhesive is the problem. Removal tears the paper face off the drywall, which is a repair, not a patch. Renters should use hook and loop strips, hanging wire on picture hooks, or Z-clips. It is worth getting written landlord permission before any installation that involves screws.
4. How can I tell whether the installation actually worked?
Beyond the clap test, you can measure reverberation time with a free RT60 app on your phone. Take a reading in the untreated room first so you have a baseline, then measure again after installation. For speech clarity in a home office or conference room, an RT60 in the range of 0.4 to 0.6 seconds is a reasonable target. Recording a short voice memo before and after in the same spot is a simpler test that most people find more convincing than a number.
5. Do acoustic panels help with noise from neighbors?
No, and this is worth being blunt about. Panels absorb sound that is already inside your room. Neighbor noise, traffic, footsteps from upstairs and barking dogs are transmission problems. These require mass, decoupling and airtight sealing rather than absorption. If that is your issue, see HOMEiA’s guide to soundproofing your walls and doors, covers mass loaded vinyl, additional drywall layers, acoustic caulk and solid core doors. Panels can be a useful finishing layer after that work, but they are not a substitute for it.
Share