


Large Ceramic Tiles in Small Bathrooms: A Spacious Look Plus
- Local Editor:Local Editor: The HOMEiA Team
- Category: Home Improvement
Share

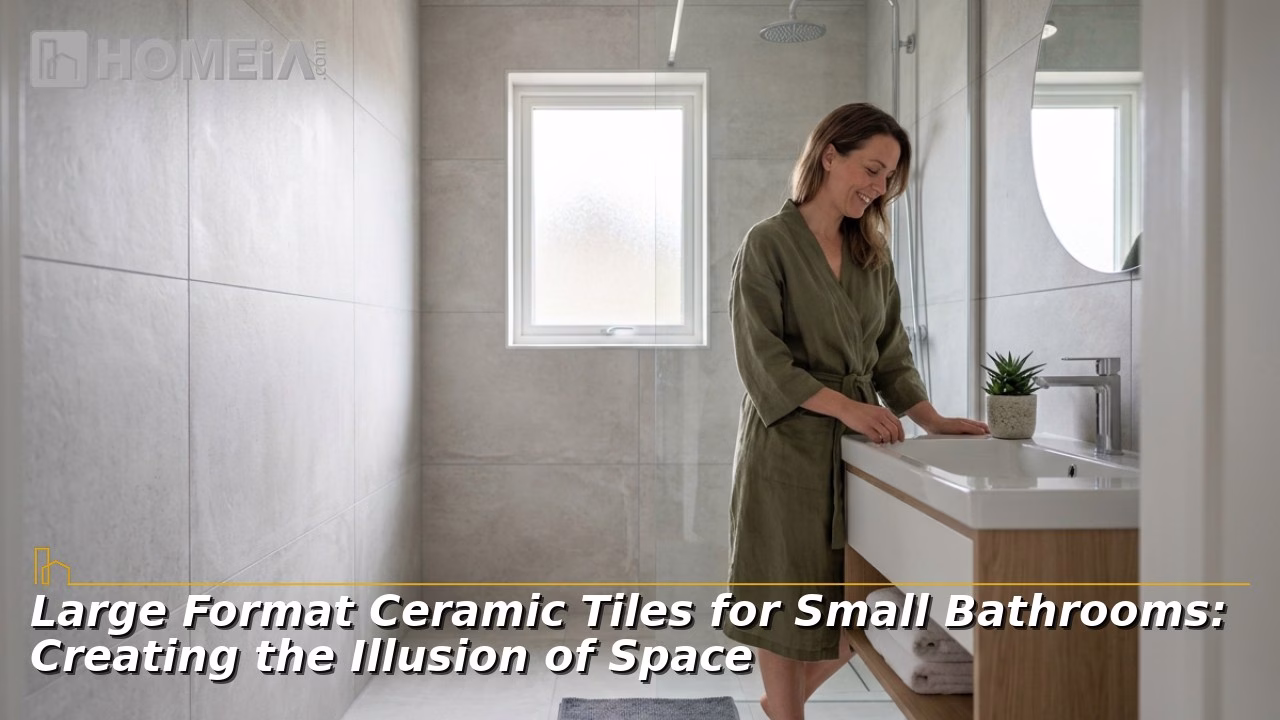
Introduction: Large Ceramic Tiles in Small Bathrooms: A Spacious Look Plus | Rethinking Small Bathroom Design
Small bathrooms are difficult. They are often the tiniest room in the home but handle the heaviest usage. For years, the standard advice was to use small tiles in small spaces. However, this is incorrect. Small tiles actually make a tiny room feel even more crammed (if that’s even possible). Large format ceramic tiles for a small bathroom do the opposite. They create one continuous surface that makes the space feel spacious. This guide shows you how to use them to open up any tight bathroom.
Table of Contents:
- Key Takeaways
- 1. The Science of Ceramic Tile Grout Lines
- 2. Large Format Tile Formats: Calibrated vs. Rectified
- 3. Strategic Orientation and Layout Configurations
- 4. Light Reflectance and Grout Color Harmonization
- 5. Space-Saving Bathroom Tiles: Material Practicality
- 6. Design Scenarios: Real-World Small Bathroom Layouts
- 7. TCNA Technical Guidelines: Flatness and Installation Standards
- 8. Barrier-Free Wet Rooms: Linear Drain Integration
- 9. Economic Forecasting: Installation and Preparation Costs
- FAQs About Large Ceramic Tiles in Small Bathrooms for a Spacious Look
Key Takeaways
- Large format ceramic tiles dramatically reduce grout joints, cutting visual clutter for a cleaner look.
- Rectified tiles feature machine-ground edges that allow grout joints of 1/8 inch or less.
- Horizontal layouts stretch perceived width; vertical layouts raise perceived ceiling height.
- Substrates must be flat within 1/8 inch over 10 feet to prevent lippage.
- A linear shower drain enables a single-slope floor so large tiles continue uncut into the shower.

Related article
How to Raise Your Home’s Value with Bathroom Renovations
Bathroom renovations are an excellent way to add value to your home. As with any remodeling project, however, you can’t expect to recoup the entire cost of the project when you sell. Remodel Magazine puts the expected value of a midrange bathroom redo at 64 percent of the price tag. If you should happen to sell the house in the future, you’ll…
1. The Science of Ceramic Tile Grout Lines
A. Cognitive Perception and Spatial Patterns: The eye doesn’t view a surface, it maps it. Our brains gauge room volume by counting visual boundaries and intersections. Cover a small floor with 2×4-inch subway tiles to create a high-frequency grid acting like visual speed bumps, with the eye stopping at every grout line and reading each break as a separate compartment.
B. Minimizing Grout Joints for Visual Expansion: Large format tiles create visual continuity instead. Standard subway installations contain 35–40 grout joints per square foot. A 24×48-inch tile lowers that to 4–6, roughly an 80% reduction in visual breaks. Without a dense grid competing for attention, the eye glides across continuous planes, having walls and floors read larger.
2. Large Format Tile Formats: Calibrated vs. Rectified
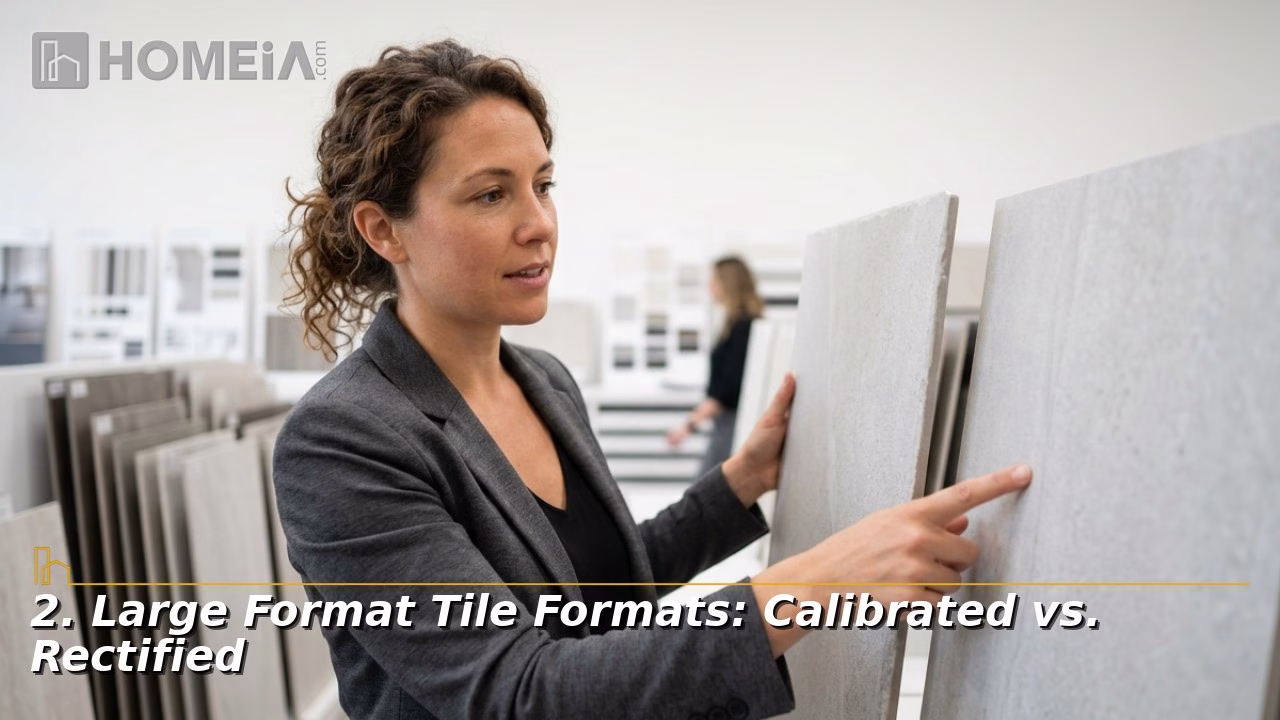
A. Understanding Dimensional Tolerances: The Tile Council of North America (TCNA) defines a large format tile as any ceramic or porcelain tile with at least one edge exceeding 15 inches. As tiles grow, managing kiln warpage becomes critical, leading to manufacturers sorting their output into two categories.
- Calibrated tiles are sorted by size but allow variations up to 5/32 inch, requiring wider grout joints, around 3/16 inch, to mask inconsistencies.
- Rectified tiles are mechanically ground after firing to exact 90-degree edges, with tolerances under 1/16 inch, enabling grout joints as tight as 1/8 inch. For maximum spatial expansion, rectified tiles are the clear choice.
B. Format Comparison Guide
Metric | Calibrated Tiles | Rectified Tiles | Spatial Impact |
|---|---|---|---|
| Edge profile | Slightly rounded or beveled | Sharp, ground 90° edges | Tight joints, monolithic look |
| Size tolerance | Up to 5/32″ variation | Under 1/16″ variation | Precision alignment |
| Minimum grout joint | ~3/16″ | 1/8″ (down to 1/16″) | Maximum continuity |
| Visual effect | Visible, segmenting joints | Seamless planes | Larger-feeling room |

Related article
The Guide to Shower Screens for Your Bathroom Renovation
If you want to be trendy or increase your appeal, stick to the tips and designs discussed here, and make sure that your door is accurately sized and fits the space. After all, if the shower screen seems out of place or takes up too much room, it won’t matter how stylish or trendy it is…
3. Strategic Orientation and Layout Configurations

Tile direction determines how the eye moves through a room.
A. Horizontal Orientation for Horizontal Expansion: Laying rectangular tiles horizontally across the back wall pulls the gaze side to side, stretching the perceived width. This technique is ideal for long, narrow powder rooms.
B. Vertical Orientation for Vertical Expansion: Stacking rectangular tiles in vertical columns leads the eye upward and raises the perceived ceiling. Utilizing is especially effective inside shower stalls, transforming everyday surfaces into stylish interior wall accents anchoring the bathroom’s design and adding grandeur to a compact footprint.
C. Diagonal Orientation and Layout Restrictions: Setting floor tiles at a 45-degree angle disrupts predictable sightlines and visually widens square floor plans. One critical restriction is for tiles longer than 18 inches. TCNA mandates a maximum 33% offset in running bond patterns. Greater offsets align natural tile warpage in ways that produce physical lippage.
Recommended for you


4. Light Reflectance and Grout Color Harmonization

A. Color Psychology and Visual Continuity: Dark colors absorb light and pull walls inward. Light neutrals including cream, warm beige, and pale gray, reflect light and push perceived boundaries outward, producing an open, airy result with large-format tile.
B. Surface Finishes: Glossy vs. Matte: Glossy finishes bounce light like mirrors, brightening windowless bathrooms and adding visual movement on walls. Matte finishes absorb light but offer superior slip resistance and hide water spots, the right choice for high-traffic floors.
C. Selecting Grout Colors for Seamless Finishes: The most important spatial trick is grout color. High-contrast grout, notably dark charcoal with white tile, creates a graphic pattern segmenting the room and defeats the purpose of large tiles. Always select grout that matches your tile as closely as possible. A tone-on-tone surface lets tile boundaries fade, producing the seamless plane that makes a room feel larger.
5. Space-Saving Bathroom Tiles: Material Practicality
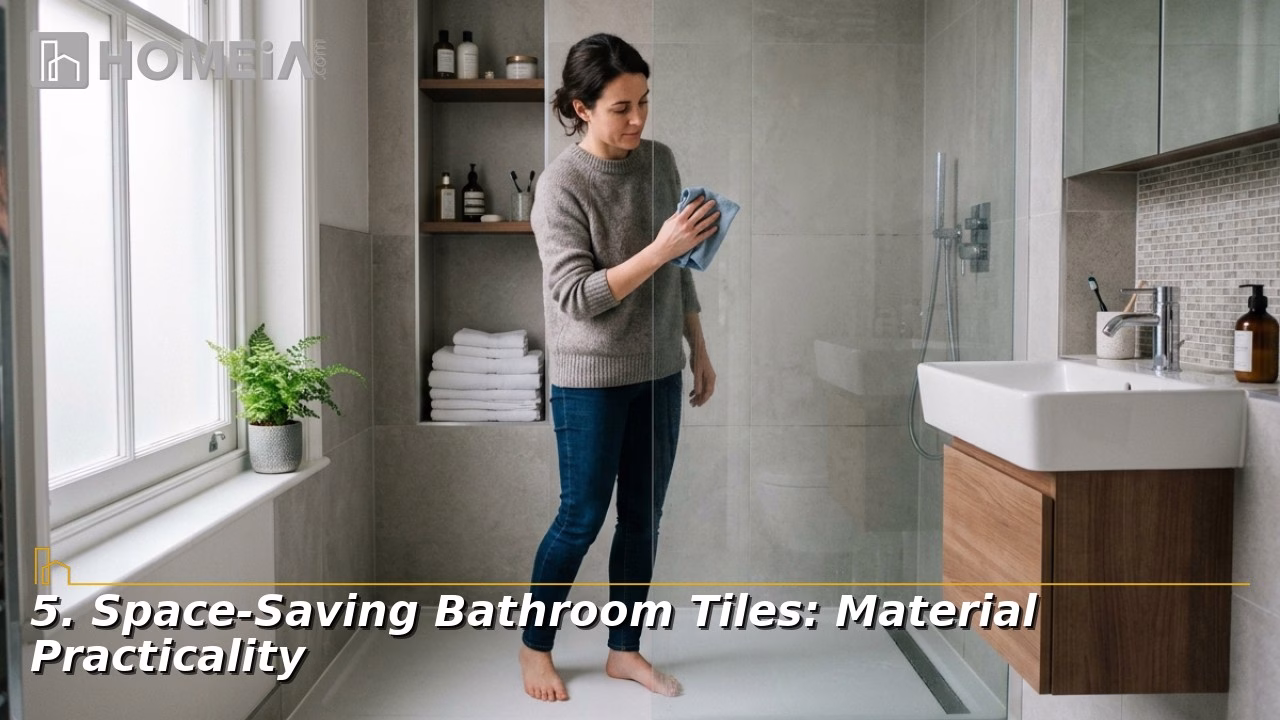
A. Water Resistance and Durability: Ceramic and porcelain offer exceptional water resistance: absorption rates fall below 3% for vitreous ceramic and under 0.5% for impervious porcelain. Neither swells, warps, nor degrades under steam or direct spray.
B. Maintenance Advantages: Grout is porous,attracting soap scum, mold, and mildew. Switching to large format tile cuts total grout surface area by up to 80%, leaving fewer places for grime to collect. A simple wipe-down keeps the surface pristine.
6. Design Scenarios: Real-World Small Bathroom Layouts

A. Scenario 1: Tiny Apartment Bathroom (5×7 ft) — Install 12×36-inch rectified ceramic tiles horizontally on the walls to stretch the 5-foot width. Pair with a matching cream or beige grout for a spa-like atmosphere where wall transitions disappear.
B. Scenario 2: Narrow Guest Bathroom (3×8 ft) — Counter the tunnel effect with 24×48-inch tiles installed horizontally on the floor. Running them across the 3-foot width pulls the eye outward while expanding the room’s narrowest dimension. Use soft grays or off-whites with a tile-matched grout.
C. Scenario 3: Compact Master Bathroom Remodel — Match wall and floor tile, for example, 24×24-inch tile on both surfaces. Extending one color, texture, and pattern from floor to wall eliminates the visual break at the transition, producing a cohesive, high-end result.

Related article
7 Tips to Maximize Your Bathroom Space
This post explores tips that can help you get the most space out of your bathroom, regardless of its dimensions. From smart storage to design and layout options, we have you covered. Continue reading to find out how the above-listed tips will help you create an organized and spacious bathroom haven...7. TCNA Technical Guidelines: Flatness and Installation Standards

A. Substrate Flatness and Leveling: ANSI A108 and TCNA require any substrate for tiles with at least one edge over 15 inches to be flat within 1/8 inch over 10 feet, and no more than 1/16 inch over 2 feet. Anything beyond that calls for a self-leveling compound before tiling.
B. Controlling Tile Lippage: Lippage, where one tile edge sits higher than its neighbor, is both unsightly and a tripping hazard. ANSI permits a maximum of 1/32 inch for grout joints under 1/4 inch. Tile leveling clip systems and careful substrate prep hold tiles flush as the mortar cures.
C. Mortar Requirements and ANSI Specifications: Standard thin-set shrinks during cure and can pull large tiles down. Use a Large and Heavy Tile mortar meeting ANSI A118.4 or A118.15. In wet areas, TCNA mandates 95% mortar coverage on the back of each tile to prevent moisture pockets.
8. Barrier-Free Wet Rooms: Linear Drain Integration
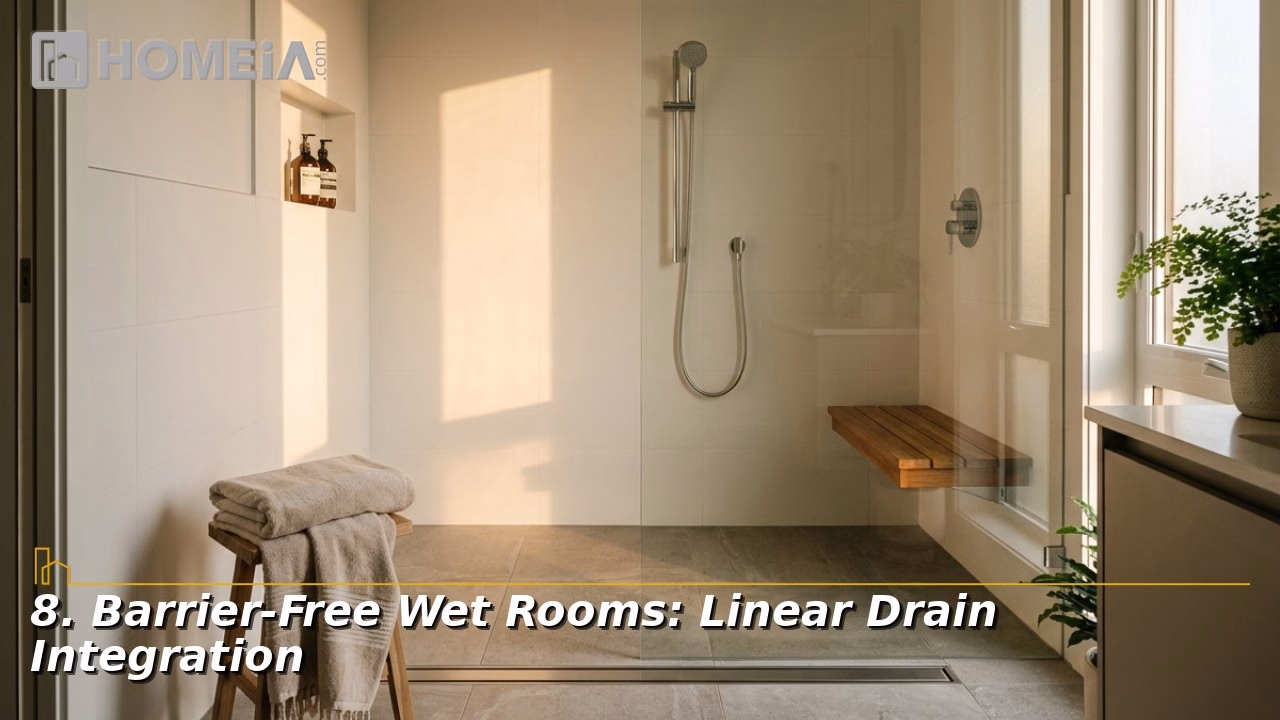
A. Moving Beyond Center Drains: Traditional center drains require a four-way slope. This forces installers to cut large tiles into small triangular wedges. The result is a busy web of grout lines that destroys the seamless effect.
B. Creating a Continuous Floor Slope: A linear drain collects water along a single channel, so the shower floor only needs to slope in one direction of a standard 1/4 inch per foot. This single plane allows large format tile to run continuously from the bathroom floor into the shower without cuts.
C. Tile-In Systems for Unbroken Visual Flow: For maximum impact, choose a tile-in linear drain. A metal tray accepts a piece of your matching floor tile. The drain virtually disappears, leaving only a narrow slot for water. This creates an uninterrupted visual flow from dry zones to wet zones.

Related article
Bathroom Remodeling Guide: Timeline, Cost, and Expert Insights
If you’re planning a bathroom remodel, you likely have two main questions: how long does a bathroom remodel take, and how much does it cost to remodel a small bathroom? Whether you’re considering bathroom remodeling in Bellevue, WA, or any other location, this guide provides detailed answers, expert advice, current design trends, and planning tips for a successful renovation…
9. Economic Forecasting: Installation and Preparation Costs

A. Material and Labor Cost Projections: Costs for large-format tile differ noticeably from standard tile work. Labor rates run higher due to tile weight and precision with substrate prep being budgeted up front. Purchase a 15% material overage rather than the standard 10% because large tiles require precise cuts with less margin for breakage.
B. Project Budget Breakdown
Budget Category | Standard Tile | Large Format Tile |
|---|---|---|
| Tile materials | $1–$5 / sq. ft. | $3–$10 / sq. ft. |
| Installation labor | $5–$15 / sq. ft. | $12–$30 / sq. ft. |
| Subfloor leveling | $0.25–$1 / sq. ft. | $1–$5 / sq. ft. |
| Demolition of old floor | $1–$4 / sq. ft. | $2–$7 / sq. ft. |
| Material overage | 10% extra | 15% extra |
Conclusion and Next Steps
A small bathroom can feel spacious and luxurious. The secret lies in choosing the correct materials and respecting proper technical standards. By minimizing grout lines, matching grout color to tile, choosing strategic orientation, and following TCNA specs, large format ceramic tiles transform tight footprints into refined, open retreats.
Recommended for you


FAQs About Large Ceramic Tiles in Small Bathrooms for a Spacious Look
1. Why is a 33% offset required for large format tiles in a running bond pattern?
Large tiles develop natural warpage at their centers during firing. A 50% brick joint aligns the high point of one tile with the low edge of its neighbor, producing visible lippage. The 33% offset avoids that alignment while keeping the surface flat.
2. How do installers verify TCNA mortar coverage?
By periodically lifting a freshly set tile to inspect the back. Wet areas require at least 95% continuous coverage, achieved by back-buttering each tile and troweling straight, parallel ridges.
3. What does a crack isolation membrane do?
Membranes meeting ANSI A118.12 sit between concrete subfloors and rigid tile, absorbing the slight horizontal movements of concrete so cracks don’t telegraph upward and split your tile.
4. How does a linear drain simplify installation?
It replaces a four-way slope with a single 1/4-inch-per-foot pitch, allowing large tiles to remain uncut and the floor read as one continuous plane.
5. Does glossy or matte wall tile make a bathroom feel brighter?
Glossy. Glossy finishes reflect light and amplify brightness, especially valuable in windowless rooms. Matte is ideal for floors, where slip resistance and hiding water spots matter more.


![10 Most Affordable (Safe) Places to Live in the U.S. [Updated]](https://homeia.com/wp-content/uploads/2025/08/10-Safest-and-Most-Affordable-Places-to-Live-in-the-U.S-570x298.webp)