Bathroom Remodeling Mistakes That Can Cost You Thousands, and How to Avoid Them
- Local Editor:Local Editor: The HOMEiA Team
- Category: Home Improvement
Share


When you walk into your master bathroom, a sanctuary for relaxation makes its introduction. As a building science expert and contractor, we see a high-stakes environment where water, electricity, and structural integrity converge. A bathroom remodel is arguably the most complex project you can undertake in your home. It packs more mechanical systems and liability into a few dozen square feet than any other room. Treat this as a cosmetic upgrade, and ignore the invisible infrastructure dictating whether your investment lasts thirty years or three.
The financial consequences of cutting corners are real. A slow leak behind a shower wall can quietly rot your subfloor, destroy framing, and seed toxic mold. Combined remediation and structural repair for major failures can reach $10,000–$50,000 or more in severe cases. The only way to avoid that outcome is to shift focus from surface aesthetics to a systems-based approach that prioritizes moisture management, structural durability, and ergonomic precision. Here are some common bathroom remodeling mistakes and how to avoid them.
Table of Contents:
- Key Takeaways
- Mistake #1) Choosing a Beautiful but Impractical Layout
- Mistake #2) Tiling Over Old or Failing Plumbing
- Mistake #3) Undersizing Ventilation and Inviting Mold
- Mistake #4) Using the Wrong Materials and Skipping Waterproofing
- Mistake #5) Spending on Finishes While Starving Infrastructure
- How to Protect Yourself: Planning, Questions, and Red Flags
Key Takeaways
- Prioritize infrastructure. Allocate budget toward “invisible” systems, waterproofing, plumbing, ventilation, before selecting luxury finishes.
- Adhere to professional standards. Follow NKBA guidelines (not just IRC code minimums), such as 18″ from toilet centerline to any wall, for long-term comfort.
- Invest in real waterproofing. Use bonded membranes or waterproof foam panels behind tile, never rely on grout or green board as a moisture barrier.
- Size ventilation correctly. Size your fan to at least 1 CFM per square foot (roughly 8 air changes per hour) and duct it to the exterior through a smooth rigid pipe.
- Vet your contractor. Watch for warning signs as requests for more than 20% upfront, refusal to pull permits, or dismissal of ventilation requirements.

Related article
How to Raise Your Home’s Value with Bathroom Renovations
Bathroom renovations are an excellent way to add value to your home. As with any remodeling project, however, you can’t expect to recoup the entire cost of the project when you sell. Remodel Magazine puts the expected value of a midrange bathroom redo at 64 percent of the price tag. If you should happen to sell the house in the future, you’ll…
Mistake #1) Choosing a Beautiful but Impractical Layout
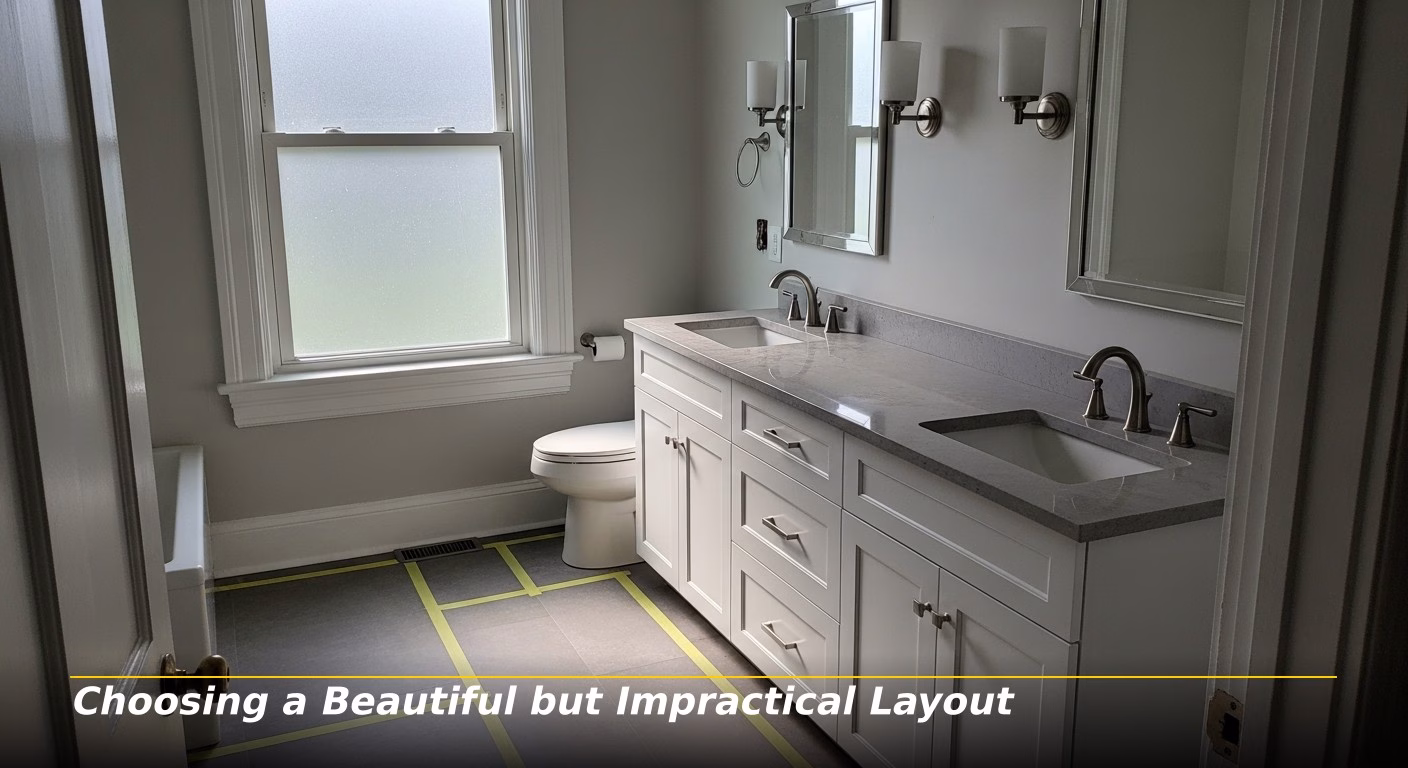
The most common planning error is assuming your existing layout is functional simply because it has always been that way. Many older homes predate modern ergonomic standards. If your new layout does not account for proper clearances, this beautiful renovation will feel cramped and become genuinely dangerous as you age or mobility needs change.
Design to NKBA 4th Edition guidelines, not only the IRC building code minimums. These sets of numbers are often confused, and the difference matters significantly. For example, the IRC requires only 15 inches from the toilet centerline to a side wall. The NKBA recommends 18 inches, the number that actually provides comfortable, long-term usability. Similarly, the IRC allows double-vanity sinks 30 inches apart center-to-center while the other recommends 36 inches to prevent constant elbow collisions.
| Feature | NKBA Minimum | Expert Recommendation |
| Entry Door Clear Opening | 32″ (guideline) 34″ (access standard) | 34–36″ for universal access |
| Clear Floor Space | 30–32″ × 48–52″ per fixture | 32″ × 52″ for easier maneuvering |
| Toilet Centerline to Wall | 18″ (NKBA); 15″ is IRC code min. | 18″ minimum for comfort |
| Sink Spacing (Double Vanity) | 36″ center-to-center (NKBA) 30″ is IRC code min. | 36–42″ to avoid elbow collisions |
| Vanity Height | 32–43″ customized to user | 36″ comfort height for most adults |
How to avoid layout failures:
- Use painter’s tape on the floor to map the swing of every door and drawer before committing to cabinetry.
- Confirm the entry door does not strike the toilet or vanity. A pocket door can reclaim 9+ square feet of swing space.
- Keep heavy plumbing on one wall when possible to control costs, but never at the expense of required clearances.

Related article
7 Tips to Maximize Your Bathroom Space
This post explores tips that can help you get the most space out of your bathroom, regardless of its dimensions. From smart storage to design and layout options, we have you covered. Continue reading to find out how the above-listed tips will help you create an organized and spacious bathroom haven...Mistake #2) Tiling Over Old or Failing Plumbing
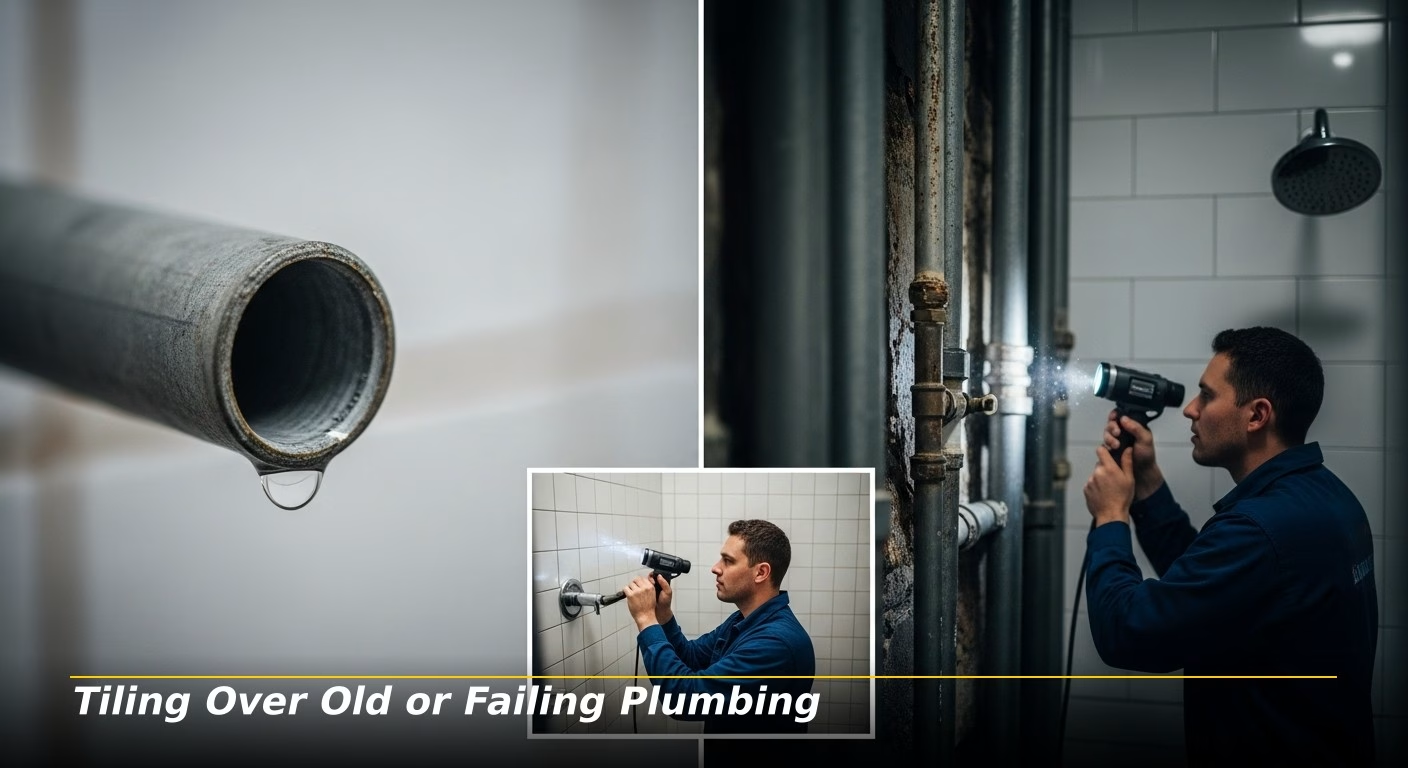
One of the most expensive mistakes you can make is enclosing plumbing problems behind new tile. You may assume that no visible drips means it’s fine, but the interior of your pipes tells a different story. Galvanized steel, commonly installed from the 1920s through the 1980s, corrodes from the inside out leading to a narrowing of the diameter and producing low pressure plus discolored water. Polybutylene pipe, used widely from 1978 to 1995, becomes brittle when exposed to chlorine in municipal water and fails without warning.
| Material | Common Era | Primary Risks | Replacement Priority |
| Galvanized Steel | 1920s–1980s | Internal rust, low pressure, discolored water | High (Mandatory) |
| Polybutylene | 1978–1995 | Brittle failure from chlorine exposure | High (Mandatory) |
| Aging Copper | 1960s–1990s | Pinhole leaks, acidic corrosion | Medium (Case-by-case) |
| PEX / PVC | Post-2000s | Generally durable and flexible | Low |
Modern rain showerheads require consistent, high-volume pressure. Installing a $1,000 shower system on corroded galvanized lines will disappoint, and risks a catastrophic failure within months. Drains are equally critical: the IPC requires a minimum slope of 1/4 inch per foot for 2-inch lines to prevent waste from settling and clogging.
What to do instead:
- Have a plumber scope your main drain lines via video inspection before closing any walls. Look for pipe bellies, root intrusion, and offsetting joints.
- Swap galvanized or polybutylene supply lines for PEX or high-quality copper during the rough-in phase. Professional plumbing installation at this stage is your one clean window before the walls close.
- Verify every fixture has a vent stack within code-compliant distance. Under the IPC, the maximum trap-to-vent distance for a 2-inch shower drain is 8 feet. For the UPC (used in western states), it’s 5 feet. Confirm which code governs your jurisdiction.

Related article
Bathroom Remodeling Guide: Timeline, Cost, and Expert Insights
If you’re planning a bathroom remodel, you likely have two main questions: how long does a bathroom remodel take, and how much does it cost to remodel a small bathroom? Whether you’re considering bathroom remodeling in Bellevue, WA, or any other location, this guide provides detailed answers, expert advice, current design trends, and planning tips for a successful renovation…
Mistake #3) Undersizing Ventilation and Inviting Mold
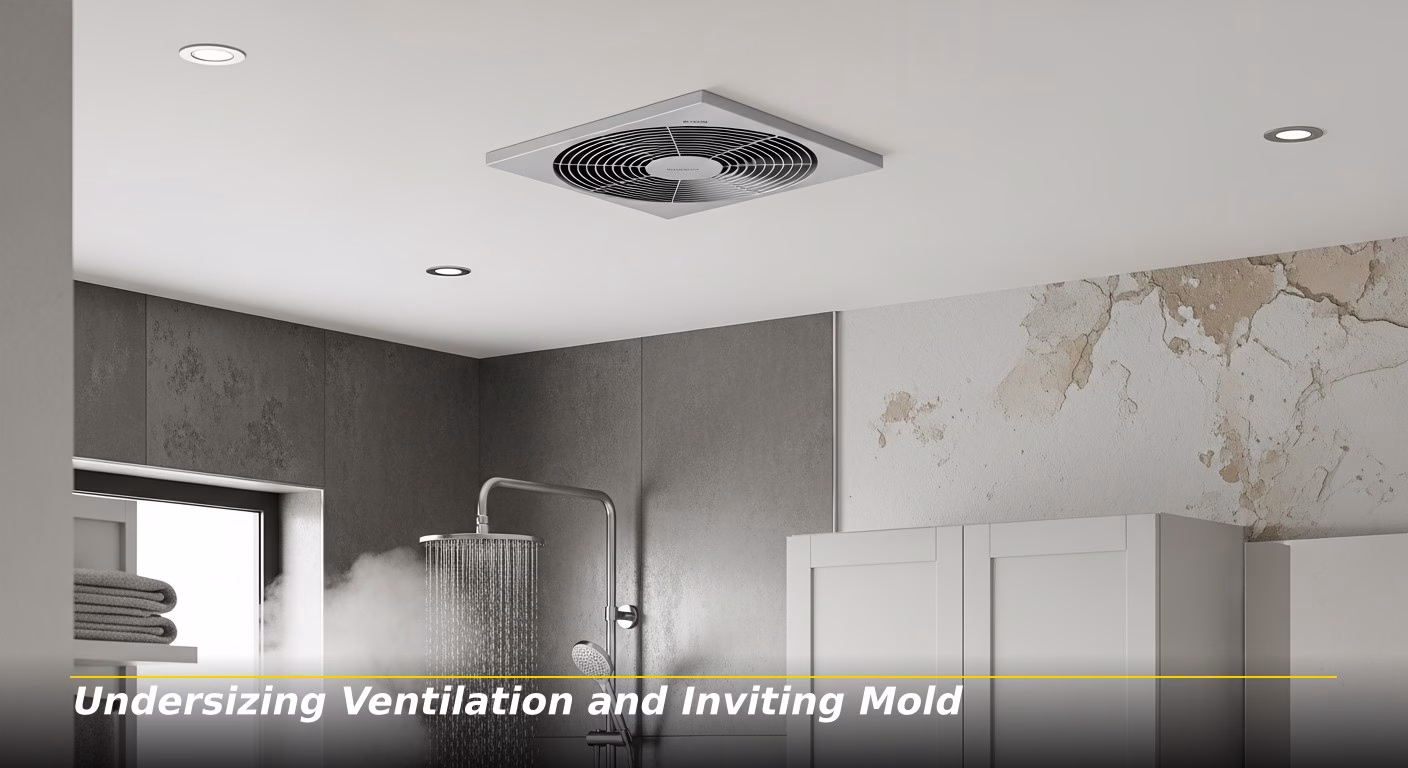
Your bathroom exhaust fan is beyond an odor device, it is your primary moisture control system. When steam condenses on walls, soaks into cabinetry, and feeds mold growth, the result is hidden structural rot that can take years to discover and thousands of dollars to repair. A window is not an acceptable substitute since few homeowners open them on winter mornings or during humid summer afternoons.
To size a fan correctly, calculate the required CFM at 1 CFM per square foot of floor space for bathrooms under 100 square feet. This targets approximately 8 air changes per hour with standard 8-foot ceilings , the HVI industry benchmark. For spacious bathrooms, use 50 CFM per toilet, shower, and tub, plus 100 CFM for a jetted tub.
| Bathroom Condition | Warning Sign | Building Science Consequence |
| Foggy Mirror | Lasts >15 mins after shower | Surface condensation → peeling paint, frame rot |
| Musty Odor | Lingers after cleaning | Hidden mold growth in wall cavities |
| Wall “Sweat” | Water beads on drywall | Structural rot of studs and top plates |
| Black Grout Dots | In shower corners | Mold colonies feeding on soap scum and moisture |
Ventilation upgrades worth every penny:
- Humidity-sensing fans activate automatically when moisture rises and stay on until the air is genuinely dry.
- Smooth rigid metal ducting dramatically reduces static pressure versus flexible corrugated duct, letting the fan actually deliver its rated CFM.
- Always terminate to the exterior through a proper wall or roof cap, never into the attic or soffit, which transfers moisture damage rather than removing it.
Recommended for you


Mistake #4) Using the Wrong Materials and Skipping Waterproofing
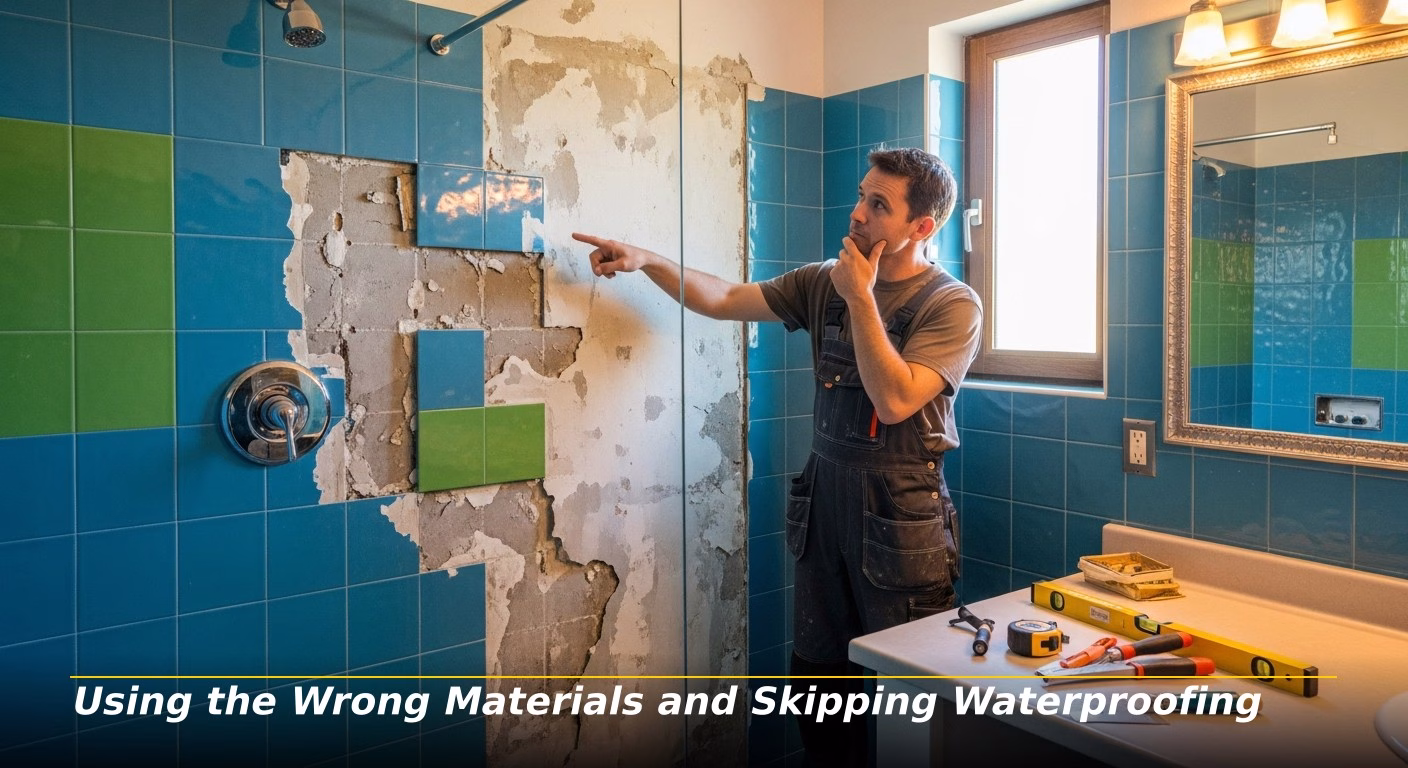
Tile and grout are not waterproof. Water and vapor penetrate finished surfaces with every shower. If your contractor installs tile over standard drywall, or even green board moisture-resistant drywall in a wet area, you are on a countdown to structural rot. Best practice requires a dedicated waterproofing membrane behind all tile in shower and tub surrounds. Without it, no finish material will save the framing behind the wall.
| System Type | Avg. Material Cost | Best For | Key Advantage |
| Schluter Kerdi (Sheet) | $600–$960 (kit) | Luxury / Steam Showers | Integrated vapor barrier, backed warranty |
| Wedi Panels (Foam) | $600–$900 (panels) | Fast-track projects | 100% waterproof core, saves 2–3 days labor |
| Liquid Membrane | $100–$225 (membrane) | Budget standard baths | Easy for complex shapes, affordable |
Waterproofing checklist:
- Use brand-consistent systems. Mixing a Schluter drain with competing membrane often voids both warranties.
- Require a 24-hour flood test before tiling: plug the drain, fill the shower base with water, and confirm the level has not dropped the next day.
- Inspect for a continuous sealed barrier across all walls, inside corners, curb transitions, and any niches.

Related article
The Guide to Shower Screens for Your Bathroom Renovation
If you want to be trendy or increase your appeal, stick to the tips and designs discussed here, and make sure that your door is accurately sized and fits the space. After all, if the shower screen seems out of place or takes up too much room, it won’t matter how stylish or trendy it is…
Mistake #5) Spending on Finishes While Starving Infrastructure

The most common psychological trap in remodeling is a $5,000 freestanding tub paired with $500 in aging plumbing valves. You must have two schools of thought: infrastructure (behind the walls, under the floor) and finishes (everything you see and touch). Infrastructure failures destroy finishes. Finish failures are inconvenient but rarely structural.
| Priority Category | Must Protect (Invisible) | Can Save (Visible) |
| Mechanical | New plumbing valves and supply lines | Mid-range faucets and showerheads |
| Structural | Waterproofing membranes and subfloor | Simple ceramic or porcelain tile |
| Functional | High-CFM fan and rigid ducting | Standard vanity lighting and mirrors |
| Safety | GFCI circuits and blocking | High-end stone countertops |
If your budget is constrained, select a simpler tile and invest the savings in a premium waterproofing system. You can swap a faucet in ten minutes. Fixing a leaking shower pan is impossible without demolishing the entire finished room.

Related article
10 Ways to Add Farmhouse Décor to Your Bathroom
We’ve found 10 ways to bring a classic farmhouse feel to some of the most functional rooms in your home. We’ll explore colors, finishes, and accessories that will give your bathroom a beautifully aged, cozy-casual, and stylish look. Which tips will work in your home?...
How to Protect Yourself: Planning, Questions, and Red Flags
The business side of remodeling is where many homeowners lose their budget. In competitive markets, a professional master bathroom remodel ranges from $30,000 to $90,000+, depending on scope, materials, and location. A vague, all-inclusive quote with no line items sounds the alarm that invisible infrastructure is being quietly omitted to hit an appealing number.
Contractor red flags to watch for:
- Refusing permits. A contractor who states permits are unnecessary is avoiding third-party inspections that protect your safety and home value.
- Excessive upfront payments. Industry norms call for 10%–20% as a deposit, with milestone payments tied to completed phases. Most consumer protection experts flag anything above 20%–25%. In California, state law actually caps deposits at $1,000 or 10% of the contract, whichever is less.
- Dismissing ventilation. If a contractor suggests a window eliminates the need for a properly sized exhaust fan, they do not understand modern building science.
- No mention of waterproofing systems. If the bid mentions tile backer or cement board without specifying a membrane or integrated system, follow up asking what the waterproofing plan is.
The worst bathroom remodeling mistakes are silent killers and extraordinarily expensive to fix. By shifting your attention from the glitz and glam to performance driven, you become your own best advocate. Investing in the building science behind the walls is the only way to protect the home’s structure and your financial stake in it. Plan carefully, ask technical questions, and choose quality infrastructure, your new bathroom will then remain a genuine sanctuary for decades to come.
Recommended for you


FAQs About Bathroom Remodeling Mistakes That Can Cost You Thousands, and How to Avoid Them
1. Does removing my only bathtub hurt resale value?
It can. Many buyers, particularly families with young children, expect at least one bathtub in the home. If the primary suite is the only bathroom with a tub, converting to a walk-in shower may shrink your buyer pool. If there’s already another tub, a primary suite shower conversion is generally positive for marketability.
2. Why does my new shower need a 2-inch drain when my old tub had a 1.5-inch drain?
Current plumbing codes (IPC and UPC) require a 2-inch minimum drain for shower receptors because showers generate a faster, more continuous flow of water than tubs filling slowly. Bathtubs continue to code at 1.5 inches. A tub/shower combination is classified as a bathtub fixture and typically drains at 1.5 inches. Upgrading to 2 inches for a dedicated shower reduces the risk of hair-and-soap clogs backing up onto the shower floor.
3. What is a flood test and why should I require one?
A flood test involves plugging the shower drain and filling the waterproofing pan with several inches of water, then leaving it for 24 hours. If the water level has dropped the following day, the system is leaking before any tiles have been installed. This is the only reliable way to confirm your waterproofing is intact before burying under finished surfaces that must be demolished to reach.
4. Do I really need a dedicated 20-amp circuit for my bathroom?
Yes. NEC Section 210.11(C)(3) requires at least one 120-volt, 20-amp branch circuit for bathroom receptacles. That circuit may serve receptacles in more than one bathroom, but all outlets must be GFCI-protected. If the circuit is for only one bathroom, the NEC permits it to also supply that room’s lighting and exhaust fan. The practical reason for 20 amps is that hair dryers and styling tools routinely draw 1,200–1,800 watts, while a 15-amp circuit cannot safely handle that load.
5. How do I know if my old plumbing is corroded without opening the walls?
Watch for four signals: water meters that keep running when no fixtures are in use, unexplained increases in your water bill, yellowish or rust-colored water at first draw, and a metallic taste or odor. Any warrants a professional evaluation. A licensed plumber can also scope your main drain lines with a camera to check for internal corrosion, bellied sections, and root intrusion, all without opening a wall.