How to Build a Low-Maintenance Gravel Driveway That Lasts Decades
- Local Editor:Local Editor: The HOMEiA Team
- Category: Home Improvement
Share


A gravel driveway is one of the most cost-effective and charming entryways a homeowner can have. When done correctly, it offers a permeable surface handling heavy loads while providing a satisfying crunch underfoot. However, most homeowners view gravel as a high-maintenance headache because they’ve experienced the Mud Pit phenomenon: constant ruts, deep potholes, and stones seeming to disappear into the earth every spring.
In reality, most failing gravel driveways weren’t built; they were dumped. A pile of stones spread over dirt is a recipe for disaster. To build a driveway set to last decades with minimal upkeep, you must treat it like a civil engineering project. By focusing on proper site preparation, layering, and water management, it’s possible to create a stable, beautiful surface ready to face the elements.
Table of Contents:
Key Takeaways
- Drainage is Priority #1: Most gravel driveway failures are water issues in disguise. A proper center crown and side swales prevent the Mud Pit effect.
- Angularity Equals Stability: Use crushed, angular stone rather than rounded pea gravel so the rocks lock together like a puzzle.
- Layering for Strength: Success requires three distinct compacted layers: structural sub-base, stabilizing base, and crusher run top layer with fines.
- Maintenance is Preventive: Spend 20 minutes raking after a storm or every few months to stop small ruts from becoming permanent potholes.

Related article
5 Common Types of Roof Repairs and The Pros & Cons of Repair vs Replace a Roof
When deciding between repair and roof replacement, consider your long-term objectives, budget, and the condition of your roof. Repairs might be quick and cheaper, but they can also result in recurring problems. On the other hand, replacement offers peace of mind and a long-term solution, but it also comes with a higher price.
1. Plan Your Driveway for Long-Term Durability
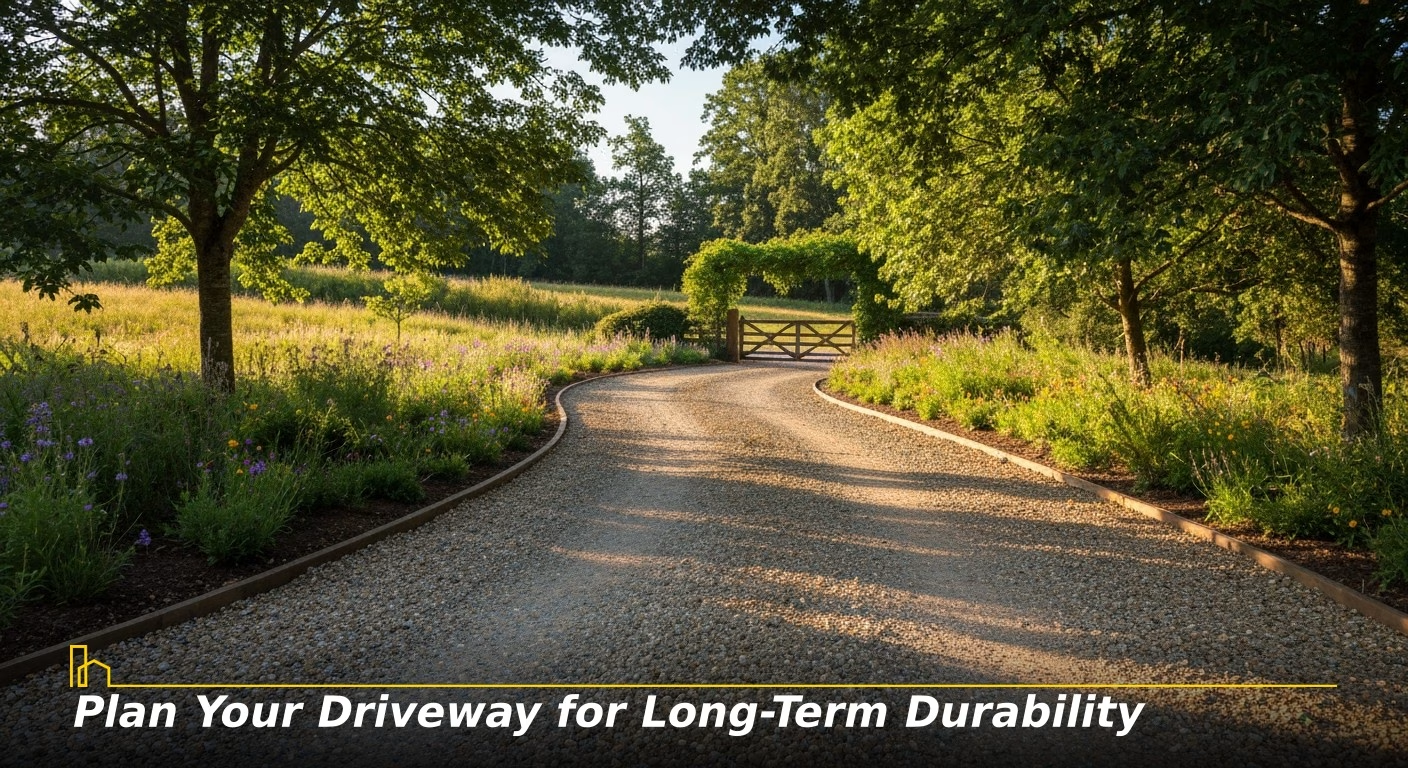
Before you pick up a shovel or call a quarry, a plan is needed. The longevity of your driveway depends far more on the invisible work beneath the surface than the stones on top.
- Location and Layout: Water is the primary enemy of driveway gravel. Avoid routing your path through low spots or natural drainage swales where water collects. If you must cross a wet area, plan for additional drainage infrastructure. For a single-lane residential driveway, aim for a minimum width of 10 to 12 feet. If there are curves, widen them to 14 feet to prevent tires from catching the edges and pulling gravel into the grass.
- Climate Considerations: In northern climates, the freeze-thaw cycle can heave poorly constructed driveways, turning them into a muddy mess in the spring. In areas with heavy rainfall, washouts are the main concern. To combat both, you must build in distinct layers: the sub-grade (soil), the sub-base (large rocks), the base (medium rocks), and the top layer (fines and small stones).
2. Choose the Right Gravel for a Low-Maintenance Driveway
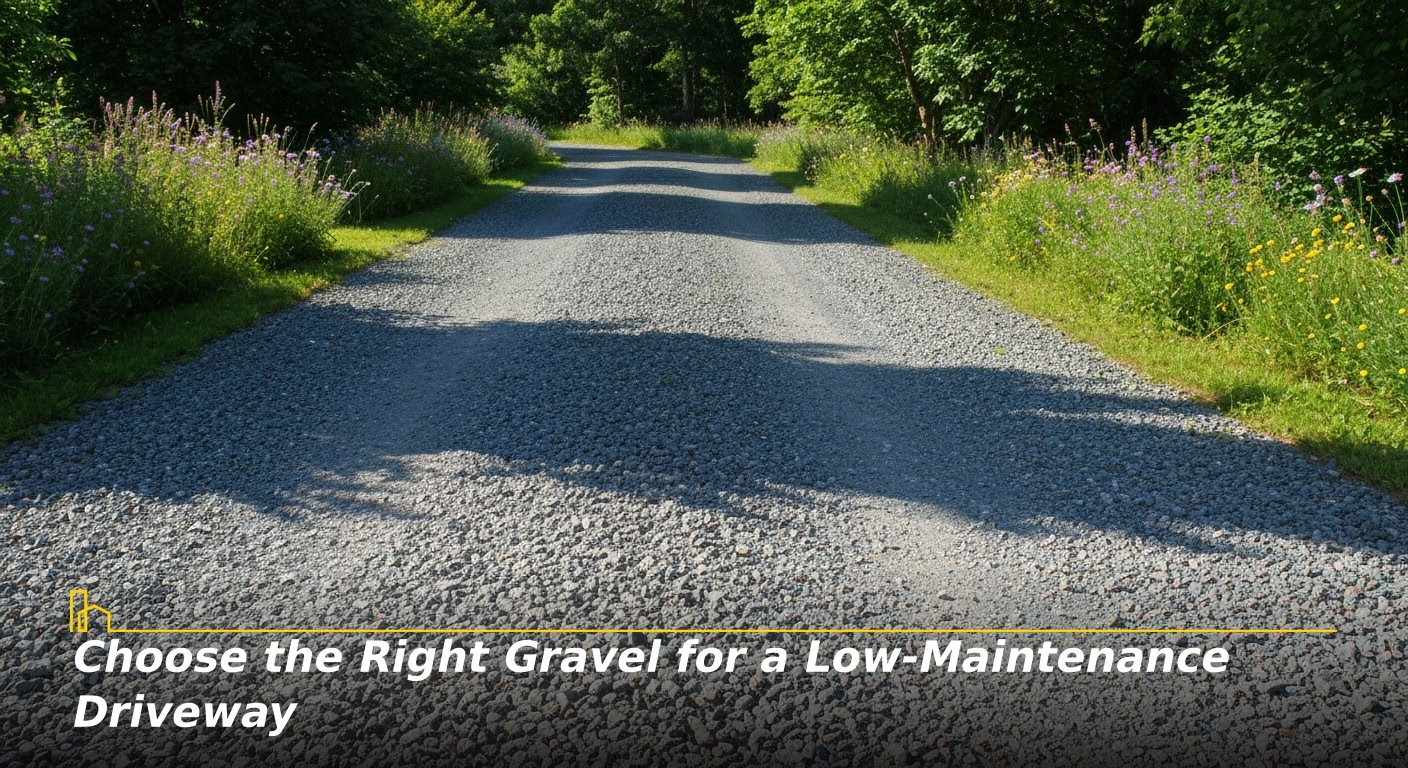
The biggest mistake DIYers make is choosing pretty stones like rounded pea gravel for the entire driveway. Rounded stones act like ball bearings; they shift under weight, creating deep ruts. For stability, you need angular, crushed stone.
- The Power of Angularity and Fines: Angular stones have sharp edges that lock together when compacted. Furthermore, you want a mix that includes fines (stone dust). When moisture hits , they act like a natural cement, binding the angular stones into a hard, pavement-like surface.
- Recommended Materials: When talking to your local quarry, ask for these general types:
- Bottom Layers (Sub-base/Base): 2-inch to 4-inch crushed, clean stone. This provides a structural skeleton and allows for some internal drainage.
- Top Layer: A crusher run or dense graded aggregate. This is typically a mix of 3/4-inch angular stone down to stone dust. In some regions, this is called #411 or “3/4-minus.”

Related article
8 Important Things to Consider Before Buying a Storage Shed
We’ve compiled a list of 8 important things to consider prior to purchasing your new storage shed. Many of these considerations go hand-in-hand while preparing to purchase and install a storage shed. As such, be sure to look at each of these factors before deciding on the new addition to your property…
3. Step-by-Step Construction Process
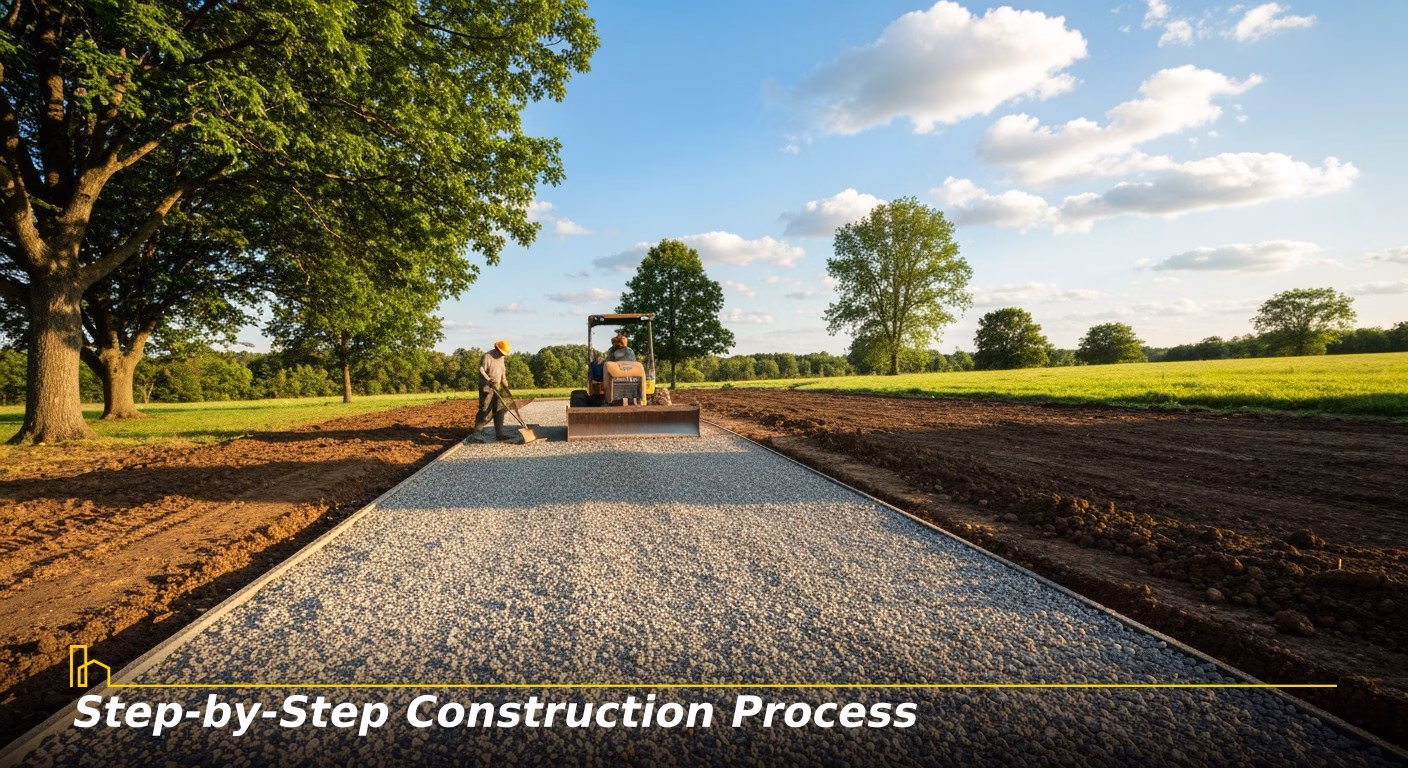
Building a lasting driveway is labor-intensive. While a small path can be done by hand, for a full driveway, you should rent a skid-steer (Bobcat) and heavy-duty vibratory plate compactor or a roller.
Step 1 – Prepare and Mark the Site: Clear all vegetation, including grass, weeds, and especially large roots. Use marking paint to outline your path. You must excavate the topsoil until you reach a firm, virgin sub-soil. Topsoil contains decomposing organic matter, creating voids leading to sinking and potholes. Generally, you’ll need to dig down 8 to 12 inches.
Step 2 – Shape the Sub-Grade and Establish Slope: The soil at the bottom of your trench is your “sub-grade.” It must be compacted before any stone is added. Most importantly, you must crown the sub-grade. This means the center of the path should be approximately 2 to 3 inches higher than the edges.
Step 3 – Install Drainage Where Needed: If your driveway sits at the bottom of a hill or crosses a path where water flows, you must install a culvert pipe. Use a 12-inch or larger HDPE (plastic) smooth-bore pipe. Additionally, consider lining your excavated trench with non-woven geotextile fabric. This acts as a barrier, preventing the heavy rocks from sinking into the soft soil while still allowing water to pass through.
Step 4 – Lay and Compact the Sub-Base Layer: Spread your largest stone (2-4 inch) to a depth of about 4 to 6 inches. Do not just dump it and move on. The lifts occur 3 inches at a time and run a heavy compactor over it. This layer provides the structural strength to support heavy delivery trucks without shifting.
Step 5 – Add the Base and Top Layers: Next, add a 3-4 inch layer of slightly smaller crushed stone (often 1-2 inch). Finally, apply your top layer of crusher run (3/4-inch minus). This top layer should be about 2-3 inches thick.
Pro Tip: Maintain that crown! Every layer you add should mimic the slope of the sub-grade, being higher in the middle so water sheds to the sides.
Step 6 – Install Edging to Keep Gravel Confined: Without edging, gravel will inevitably migrate into your lawn. Use heavy-duty steel edging, pressure-treated 4×4 timbers, or Belgian block pavers. Edging not only keeps the driveway looking sharp but also provides a hard stop for your compaction equipment, allowing you to get a compact pack.
Step 7 – Final Grading, Compaction, and Initial Use: Once the final layer is spread, dampen it slightly with a hose and compact it thoroughly. Moisture helps the fines settle into the gaps between the larger stones. Let the driveway sit for 24 hours before driving on it. For the first few weeks, avoid dry steering (turning your steering wheel while the car is stationary), as this gouges the fresh surface.
Recommended for you


4. Ongoing Maintenance Schedule
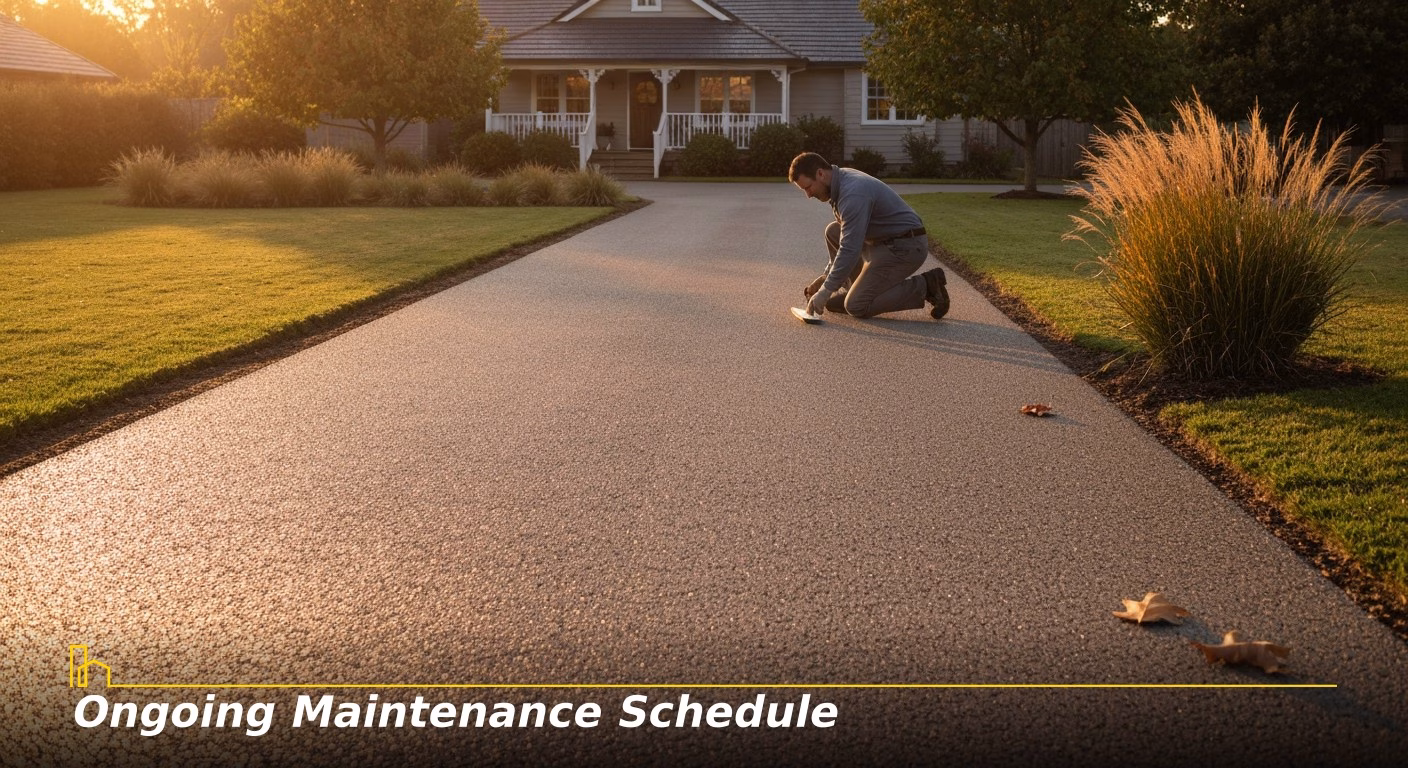
Low-maintenance driveways still require eyes-on inspection. Catching a small issue in five minutes prevents a weekend-long repair later.
- Monthly/After Heavy Rain: Look for birdbaths (standing water). If water is sitting, your crown is failing. Use a rake to pull gravel from the edges back toward the center.
- Seasonally: Rake any escaped gravel back from the lawn. If you see the larger base stones peeking through, it’s time to add a fresh inch of top-layer material.
- Every 3–5 Years: Depending on traffic, you may need a top-dressing. Order a small load of the same top-layer mix you used originally to fill in low spots and refresh the binding fines.
5. Common Problems and How to Fix Them
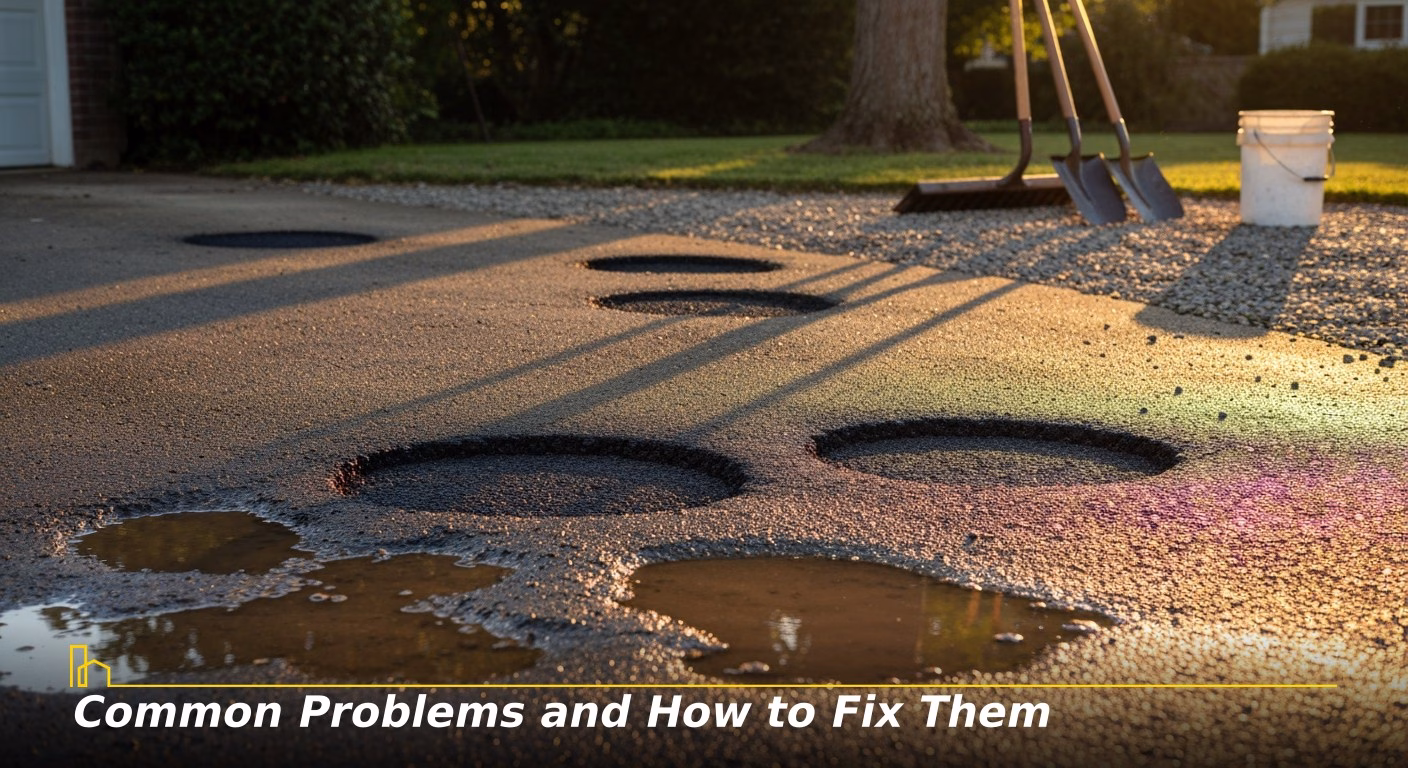
Problem | Likely Cause | The Fix |
|---|---|---|
| Persistent Potholes | Water trapped in a “bowl” in the sub-grade. | Dig out the hole, fill with large base stone, then top with a compacted crusher run. Never just fill a hole with loose top-gravel. |
| Washboarding (Ripples) | Driving too fast or frequent sudden braking. | Use a box blade or heavy rake to smooth the ripples and re-compact the area. Slow down your driving speed. |
| Soft, Muddy Spots | Soil mixing with gravel (no fabric or poor sub-base). | Excavate the spot, lay geotextile fabric, and rebuild the layers with proper compaction. |
| Washouts at Edges | Water is flowing too fast off the crown. | Install a shallow gravel-filled trench (French drain) or a grass swale along the edge to catch and slow the water. |

Related article
Authentic Living: The Rise of Non-Aesthetic Homes
When we let go of rigid design rules and embrace the beautiful chaos of everyday life, our homes become refuges that reflect who we really are. The most meaningful spaces tell our stories honestly, with all their imperfections and quirks. That’s not just liberating, it’s revolutionary in a world that often values appearance over substance…
6. When to DIY and When to Hire a Pro
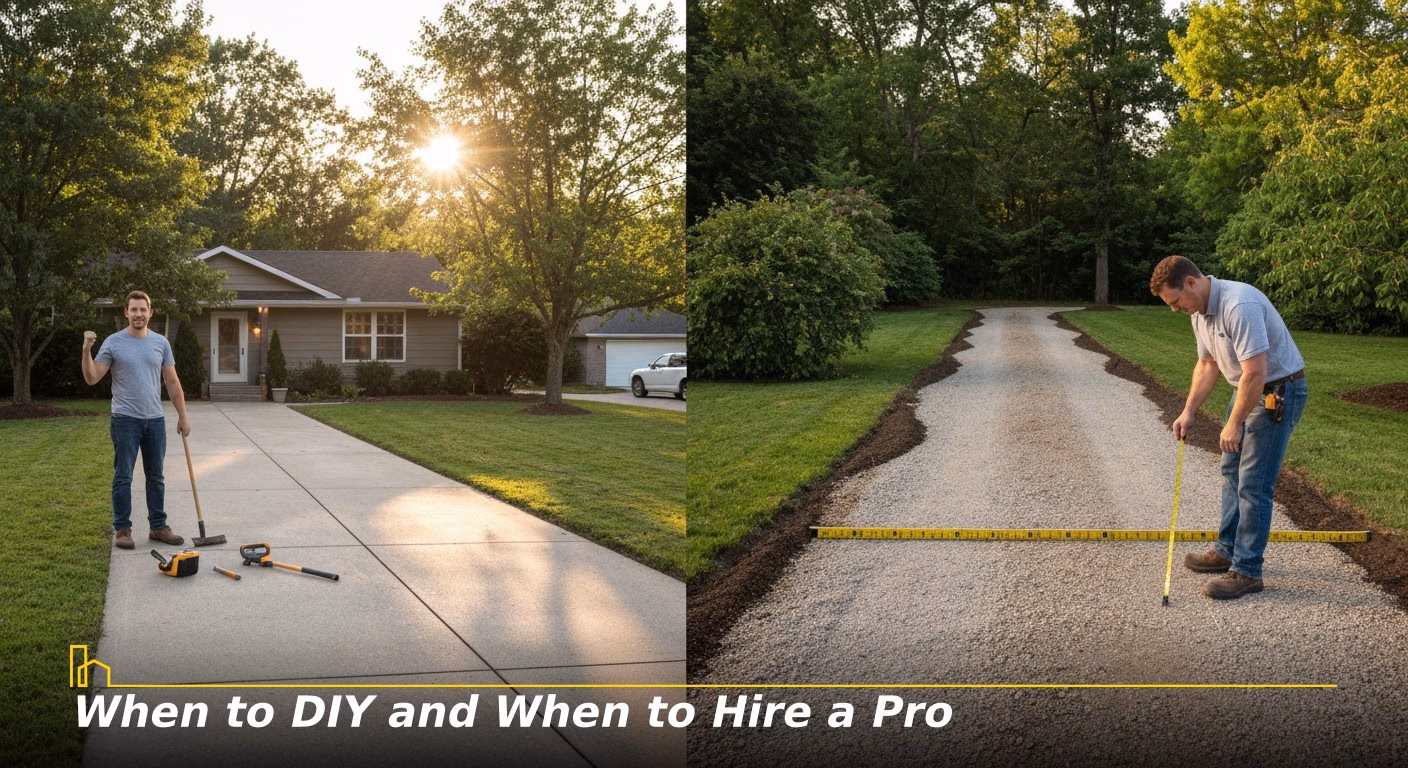
- You can DIY if:
- The driveway is relatively flat and under 50 feet long.
- You have access to a rental yard that carries skid-steers and plate compactors.
- Are free one weekend (and have a few muscular friends) to dedicate to the project.
- Hire a Pro if:
- The Grade is Steep: Steep gravel driveways are incredibly difficult to stabilize and require expert water management.
- The Soil is Heavy Clay: Clay expands and contracts significantly; a pro will know how much over-excavation is needed to prevent the driveway from sinking.
- Permitting is Required: Some municipalities have strict rules about runoff and culvert sizing.
When interviewing contractors, ask: “How many layers of different stone sizes do you use, and do you compact each layer individually?” If they say they dump one size of stone, look for another contractor.
Conclusion: High-quality gravel driveways aren’t a pile of rocks; it’s a layered system designed to shed water and support weight. By investing the time to build a proper foundation, you ensure that your maintenance tasks remain simple raking rather than grueling reconstruction.
Remember these three pillars of success:
- Drainage is King: Always maintain a center crown to shed water.
- Angular Rocks Only: Avoid rounded stones that roll and rut.
- Compaction is Non-Negotiable: Pack every single layer until it feels as solid as a floor.
Build it right the first time, and you’ll have a stable, attractive driveway that serves your home for decades to come.
Recommended for you


FAQs About How to Build a Low-Maintenance Gravel Driveway That Lasts Many Years
1. Can I merely pour new gravel over my old, rutted driveway to fix it?
Adding fresh gravel to an existing mess is a temporary band-aid falling off within one season. If your current driveway has deep ruts or potholes, the issue is likely a soft sub-grade or poor drainage. To fix permanently, excavate the loose material, address underlying soft soil (often by adding geotextile fabric), and rebuild the layers with proper compaction. Simply filling a pothole with loose gravel creates a soft spot that water will eventually find and wash out again.
2. How do I clear snow without losing all my gravel to the lawn?
Snow removal is the biggest challenge for gravel owners. If using a snowplow, instruct the operator to keep the blade roughly 1 inch off the ground using skid shoes. If you are DIY-ing with a snowblower, set the height adjustment to leave a thin layer of snow behind. This base of packed snow protects the stones from being sucked up. Once the ground is fully frozen, the gravel is much more likely to stay in place during clearing.
3. Is landscape fabric really necessary under the gravel?
While not always mandatory for sandy soils, geotextile fabric is a secret weapon for driveways built on clay or silty soil. It prevents the heavy base rocks from sinking into the soft earth over time,called stone loss. It also provides a secondary barrier against deep-rooted weeds. For the best results, use a heavy-duty, non-woven stabilization fabric rather than the thin plastic film used in garden beds.
4. Why is my driveway so dusty, and how can I stop it?
Dust is caused by the “fines” (stone dust) in your top layer. While essential for binding the stones together, they can become airborne in dry weather. The easiest fix is a light spray with a garden hose during dry spells. For a more permanent solution, some homeowners use a calcium chloride treatment, which draws moisture from the air to keep the surface damp and dust-free.
5. How much gravel do I actually need to order?
Gravel is sold by the ton or cubic yard. To calculate your needs, multiply Length x Width x Depth (in feet) and divide by 27 to get cubic yards. For example, a 50-foot driveway that is 12 feet wide and 8 inches (0.66 ft) deep requires about 15 cubic yards. Always order 10% extra to account for compaction, as the volume will shrink once packed down.